5. Create Templates
Learn how to create templates for your text translation projects—standardise structure, save time, and ensure consistency across recurring content.
A template is built from three core components: glossary, fragment, and code logic. For setup, make sure you’ve already created your custom glossaries and prefilled fragments. See: Create Custom Glossary and Create Prefilled Fragments.
Code Logic is the script that defines how data is extracted (e.g., via API), determines which parts of the content should use glossary terms or fragments, and specifies what to translate, skip, or preserve as-is.
To create a template:
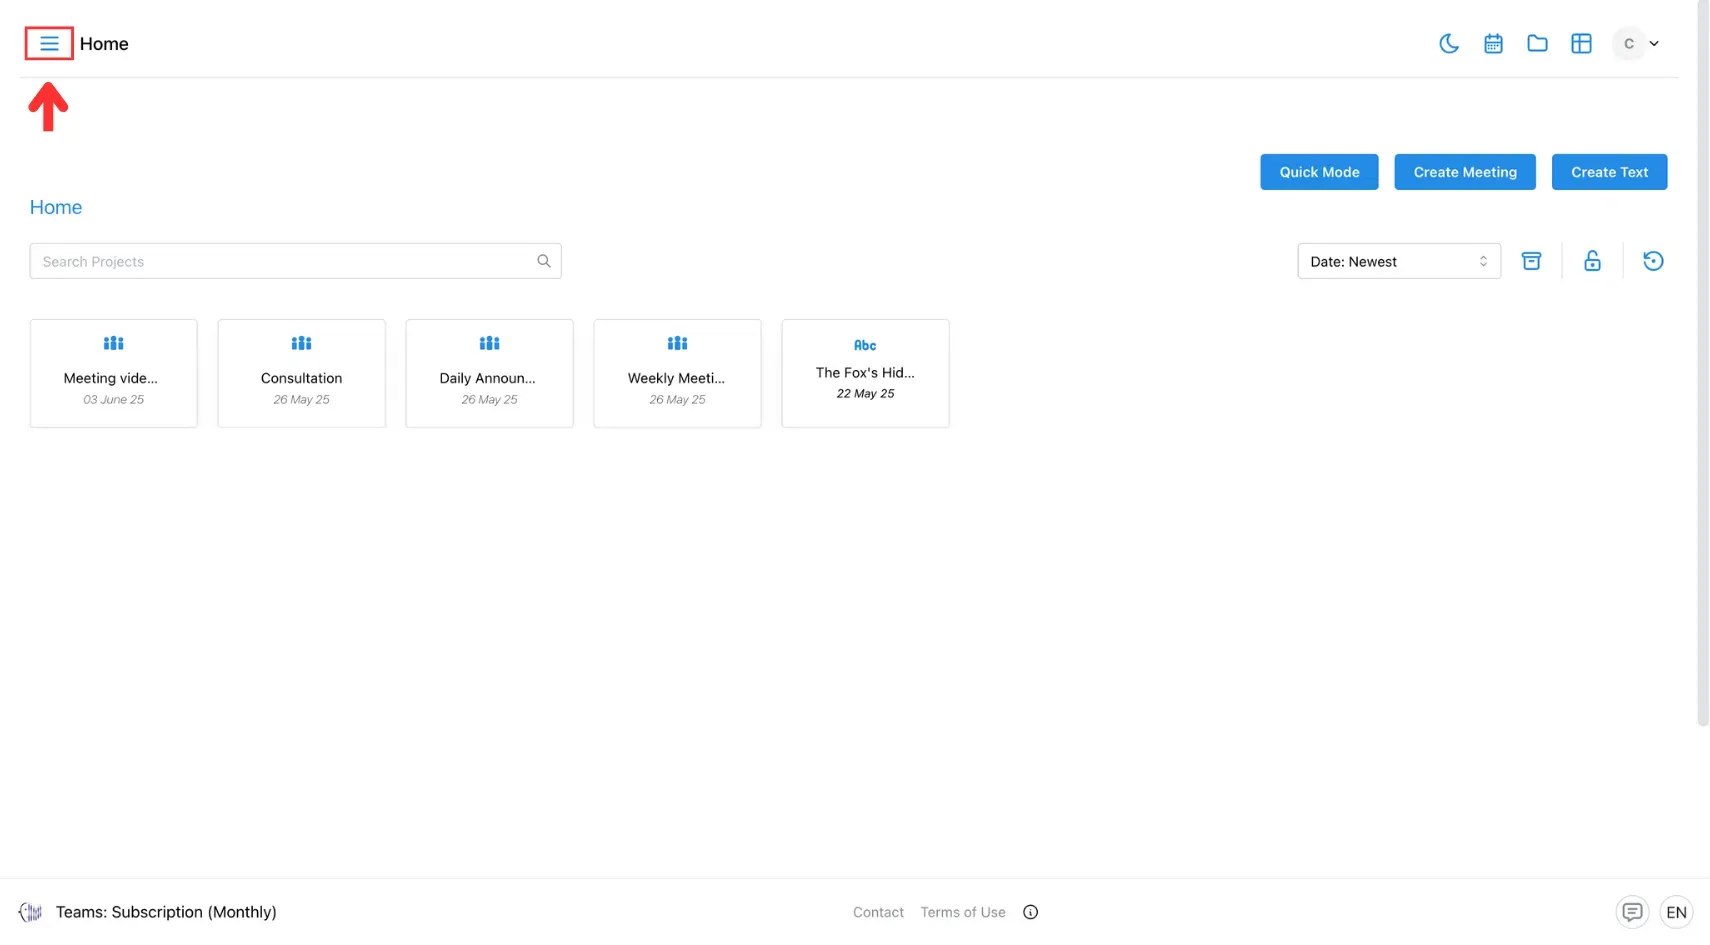
1. Open the Admin Page
Click the three horizontal lines icon in the top-left corner of the screen.
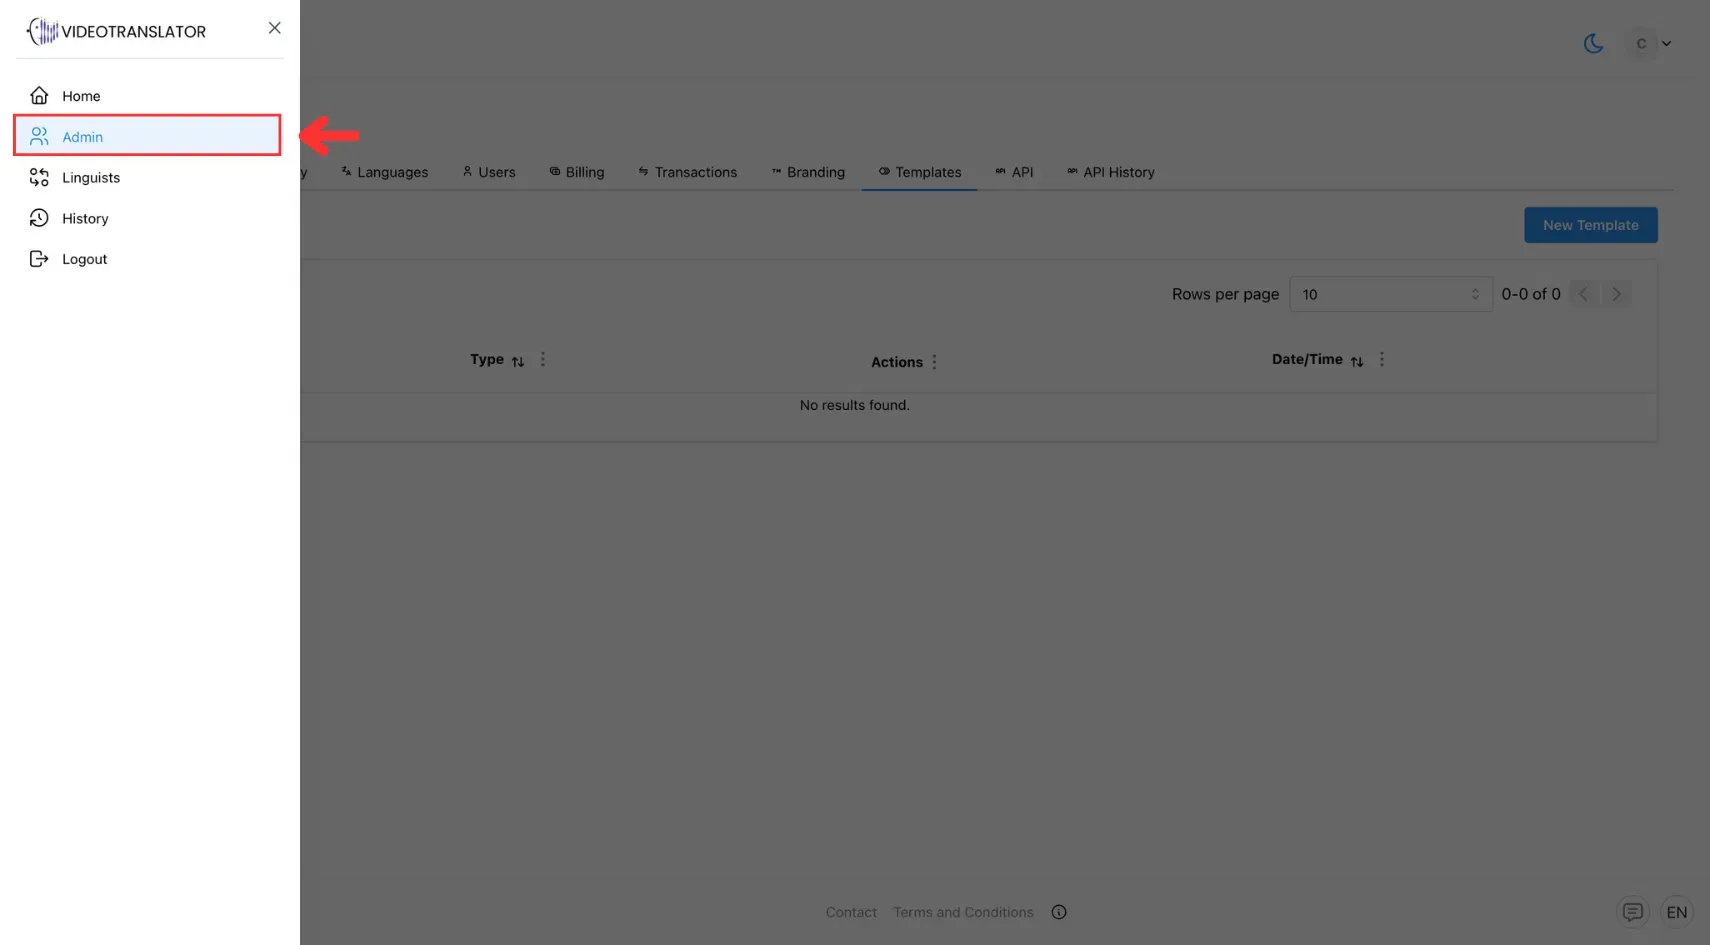
After that, select Admin from the side menu
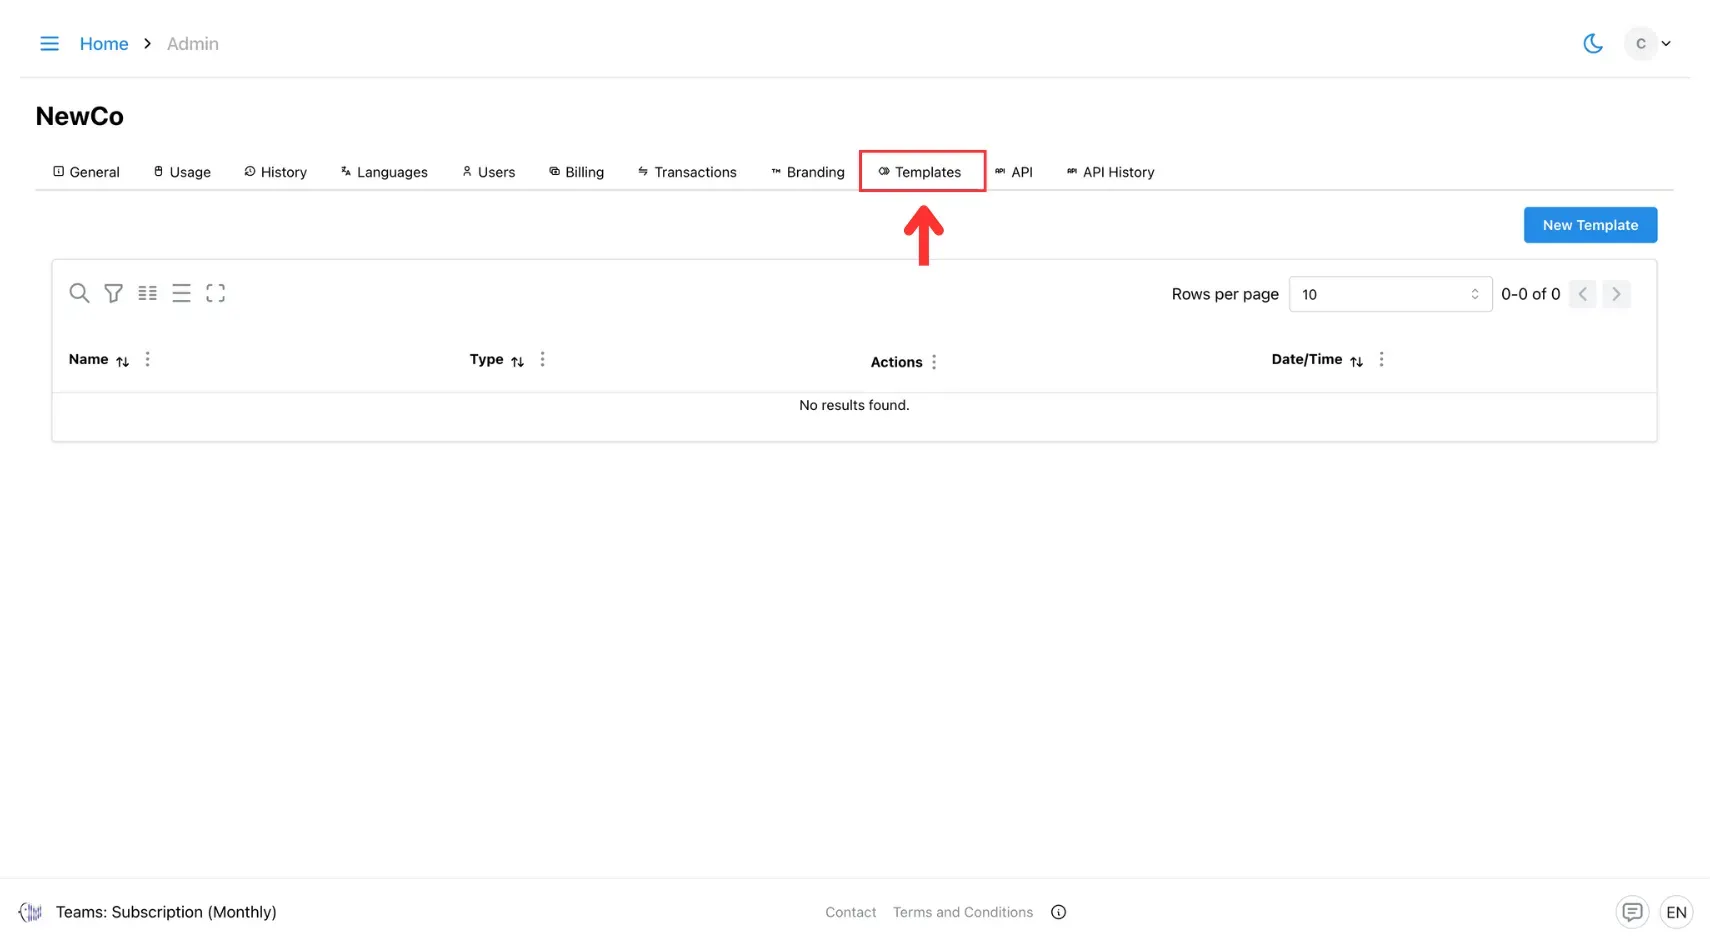
2. Go to the Template Tab
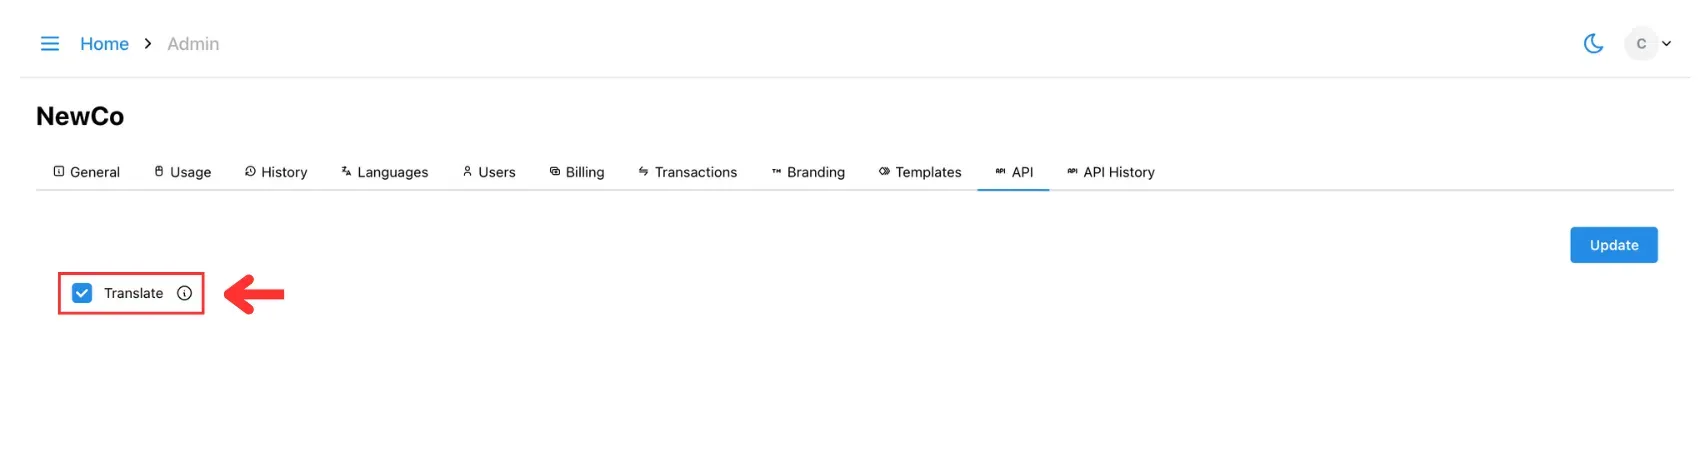
Before you begin, make sure the “Translate” option is enabled in the API tab inside the Admin panel—this is required for the Templates tab to appear.
Once enabled, navigate to the Templates section in the Admin panel.
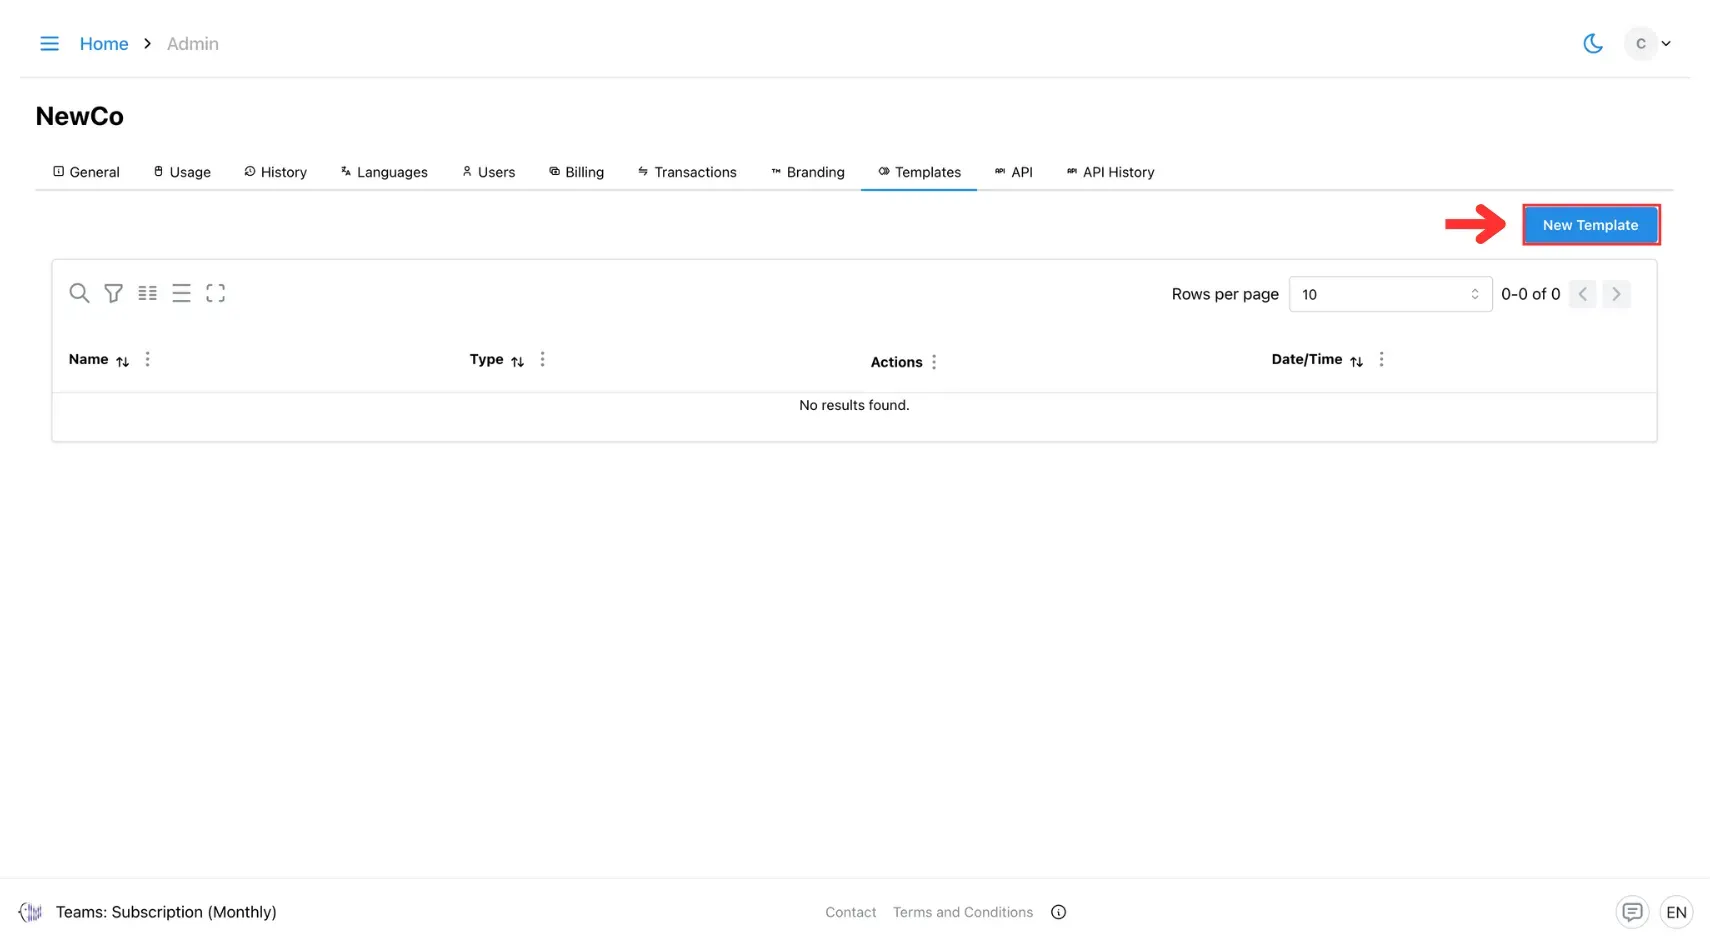
3. Click New Template
Click the New Template button to begin creating a new template.
4. Enter Template Details
Fill in the required fields such as template name, glossary, source language, target language(s), and fragments.
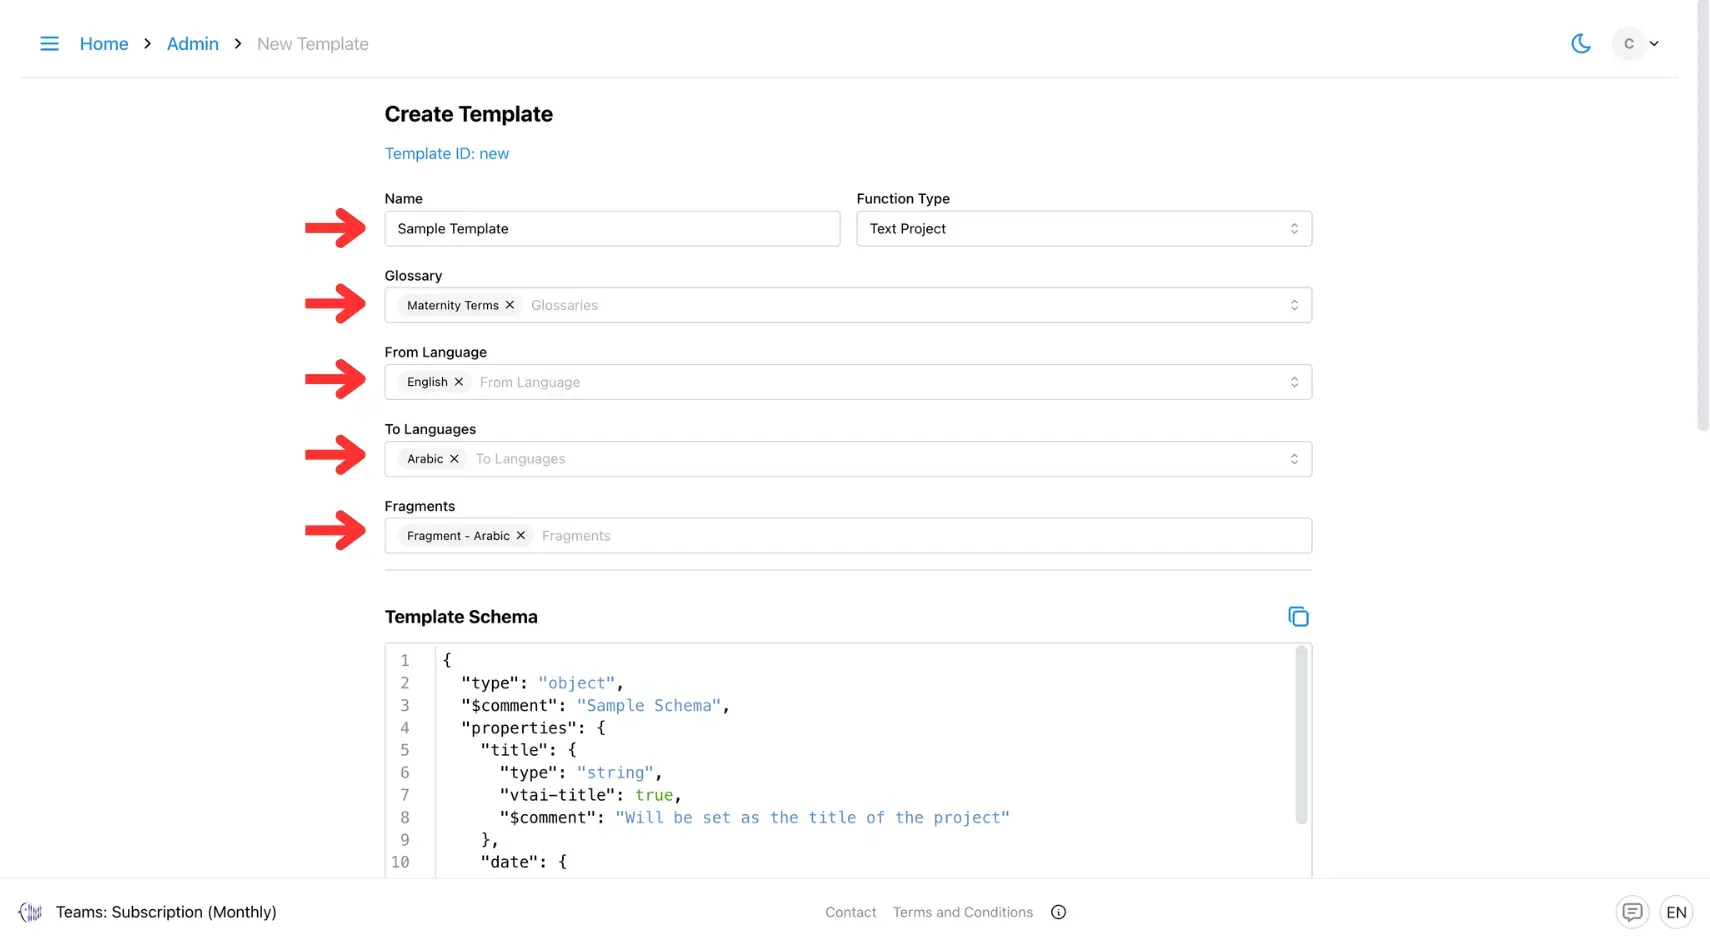
5. Define the Template Schema
Enter your Template Schema in the schema editor. You can either:
- Use the default schema provided, or
- Create your own schema based on your content structure and translation needs.
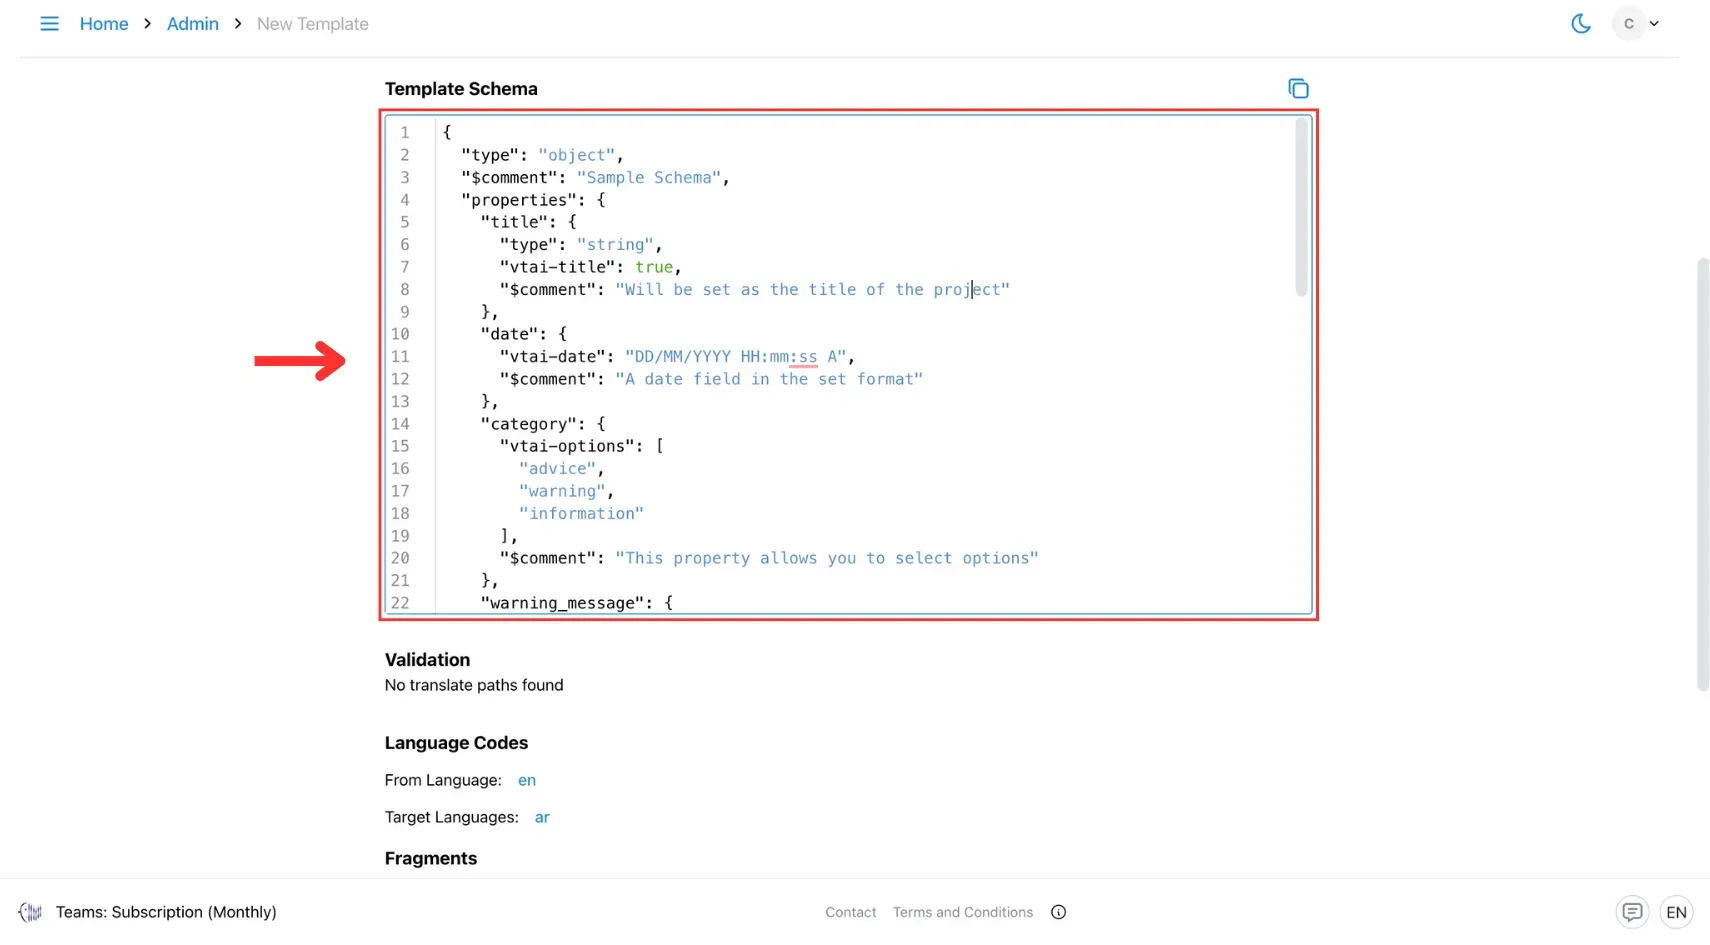
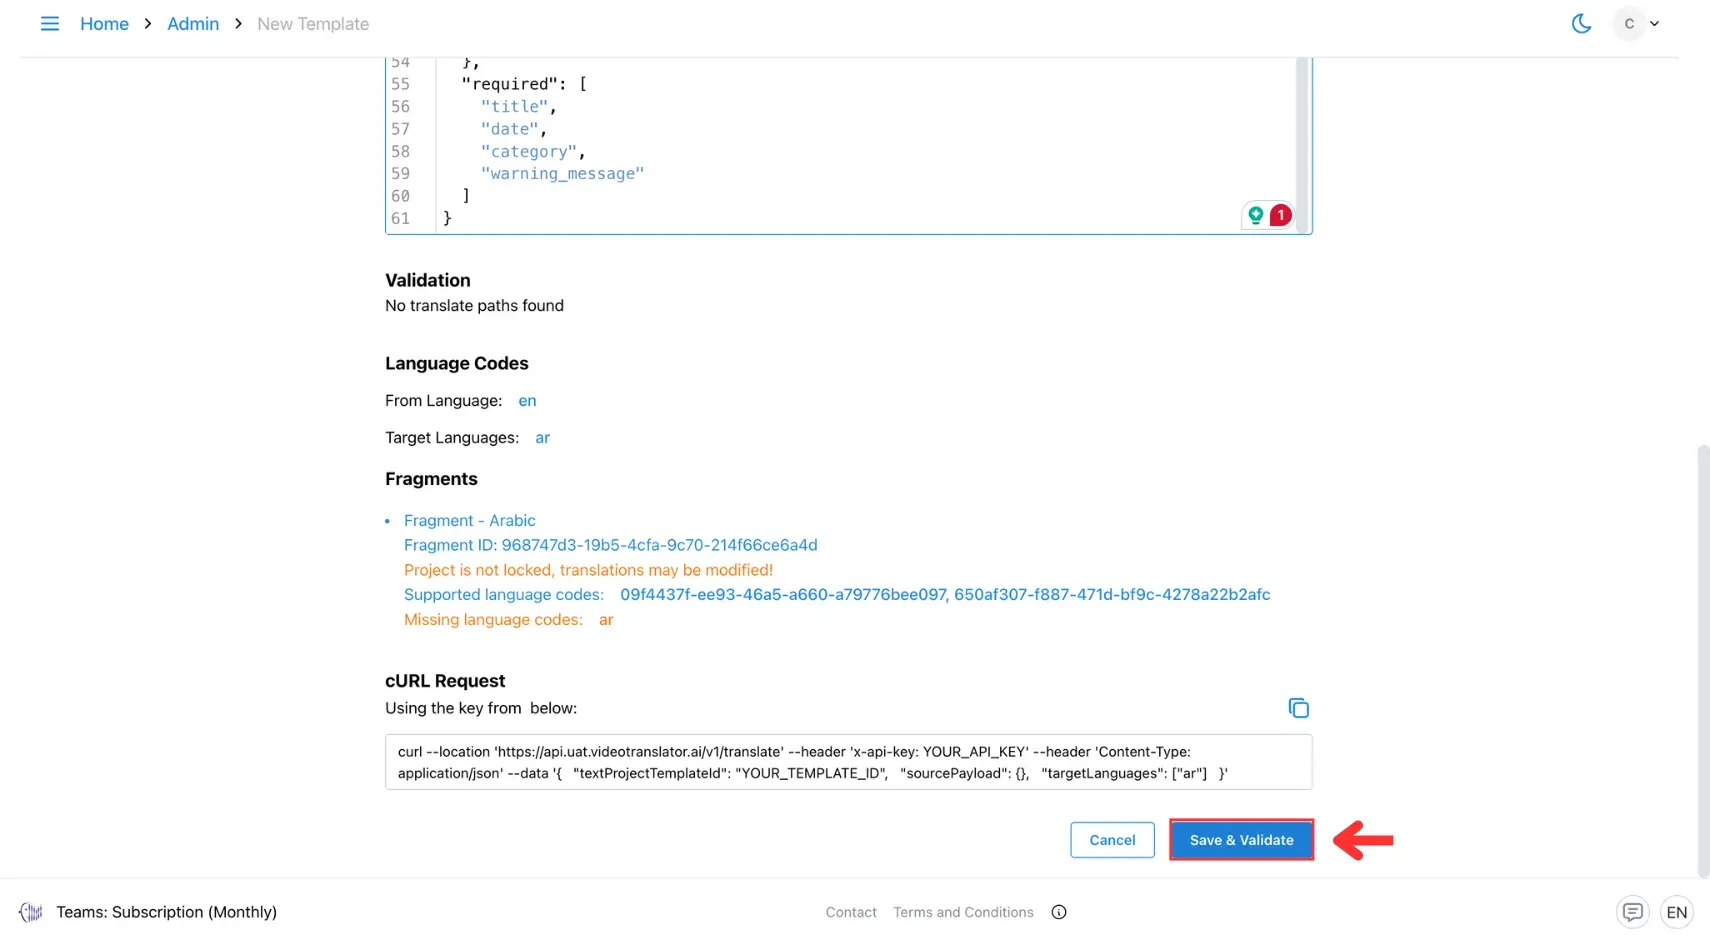
6. Save and Validate
Once you’ve completed the setup, click Save & Validate to ensure your template schema is correctly structured.