3. Create Custom Glossaries
Learn how to create and manage custom glossaries to guide AI translations—ideal for ensuring accuracy with brand names, technical terms, and proper nouns.
Glossary is a collection of predefined phrase replacements, tailored to each AI translation engine (e.g., Microsoft Glossary for Microsoft Translator, DeepL Glossary for DeepL).
1. Create A Glossary
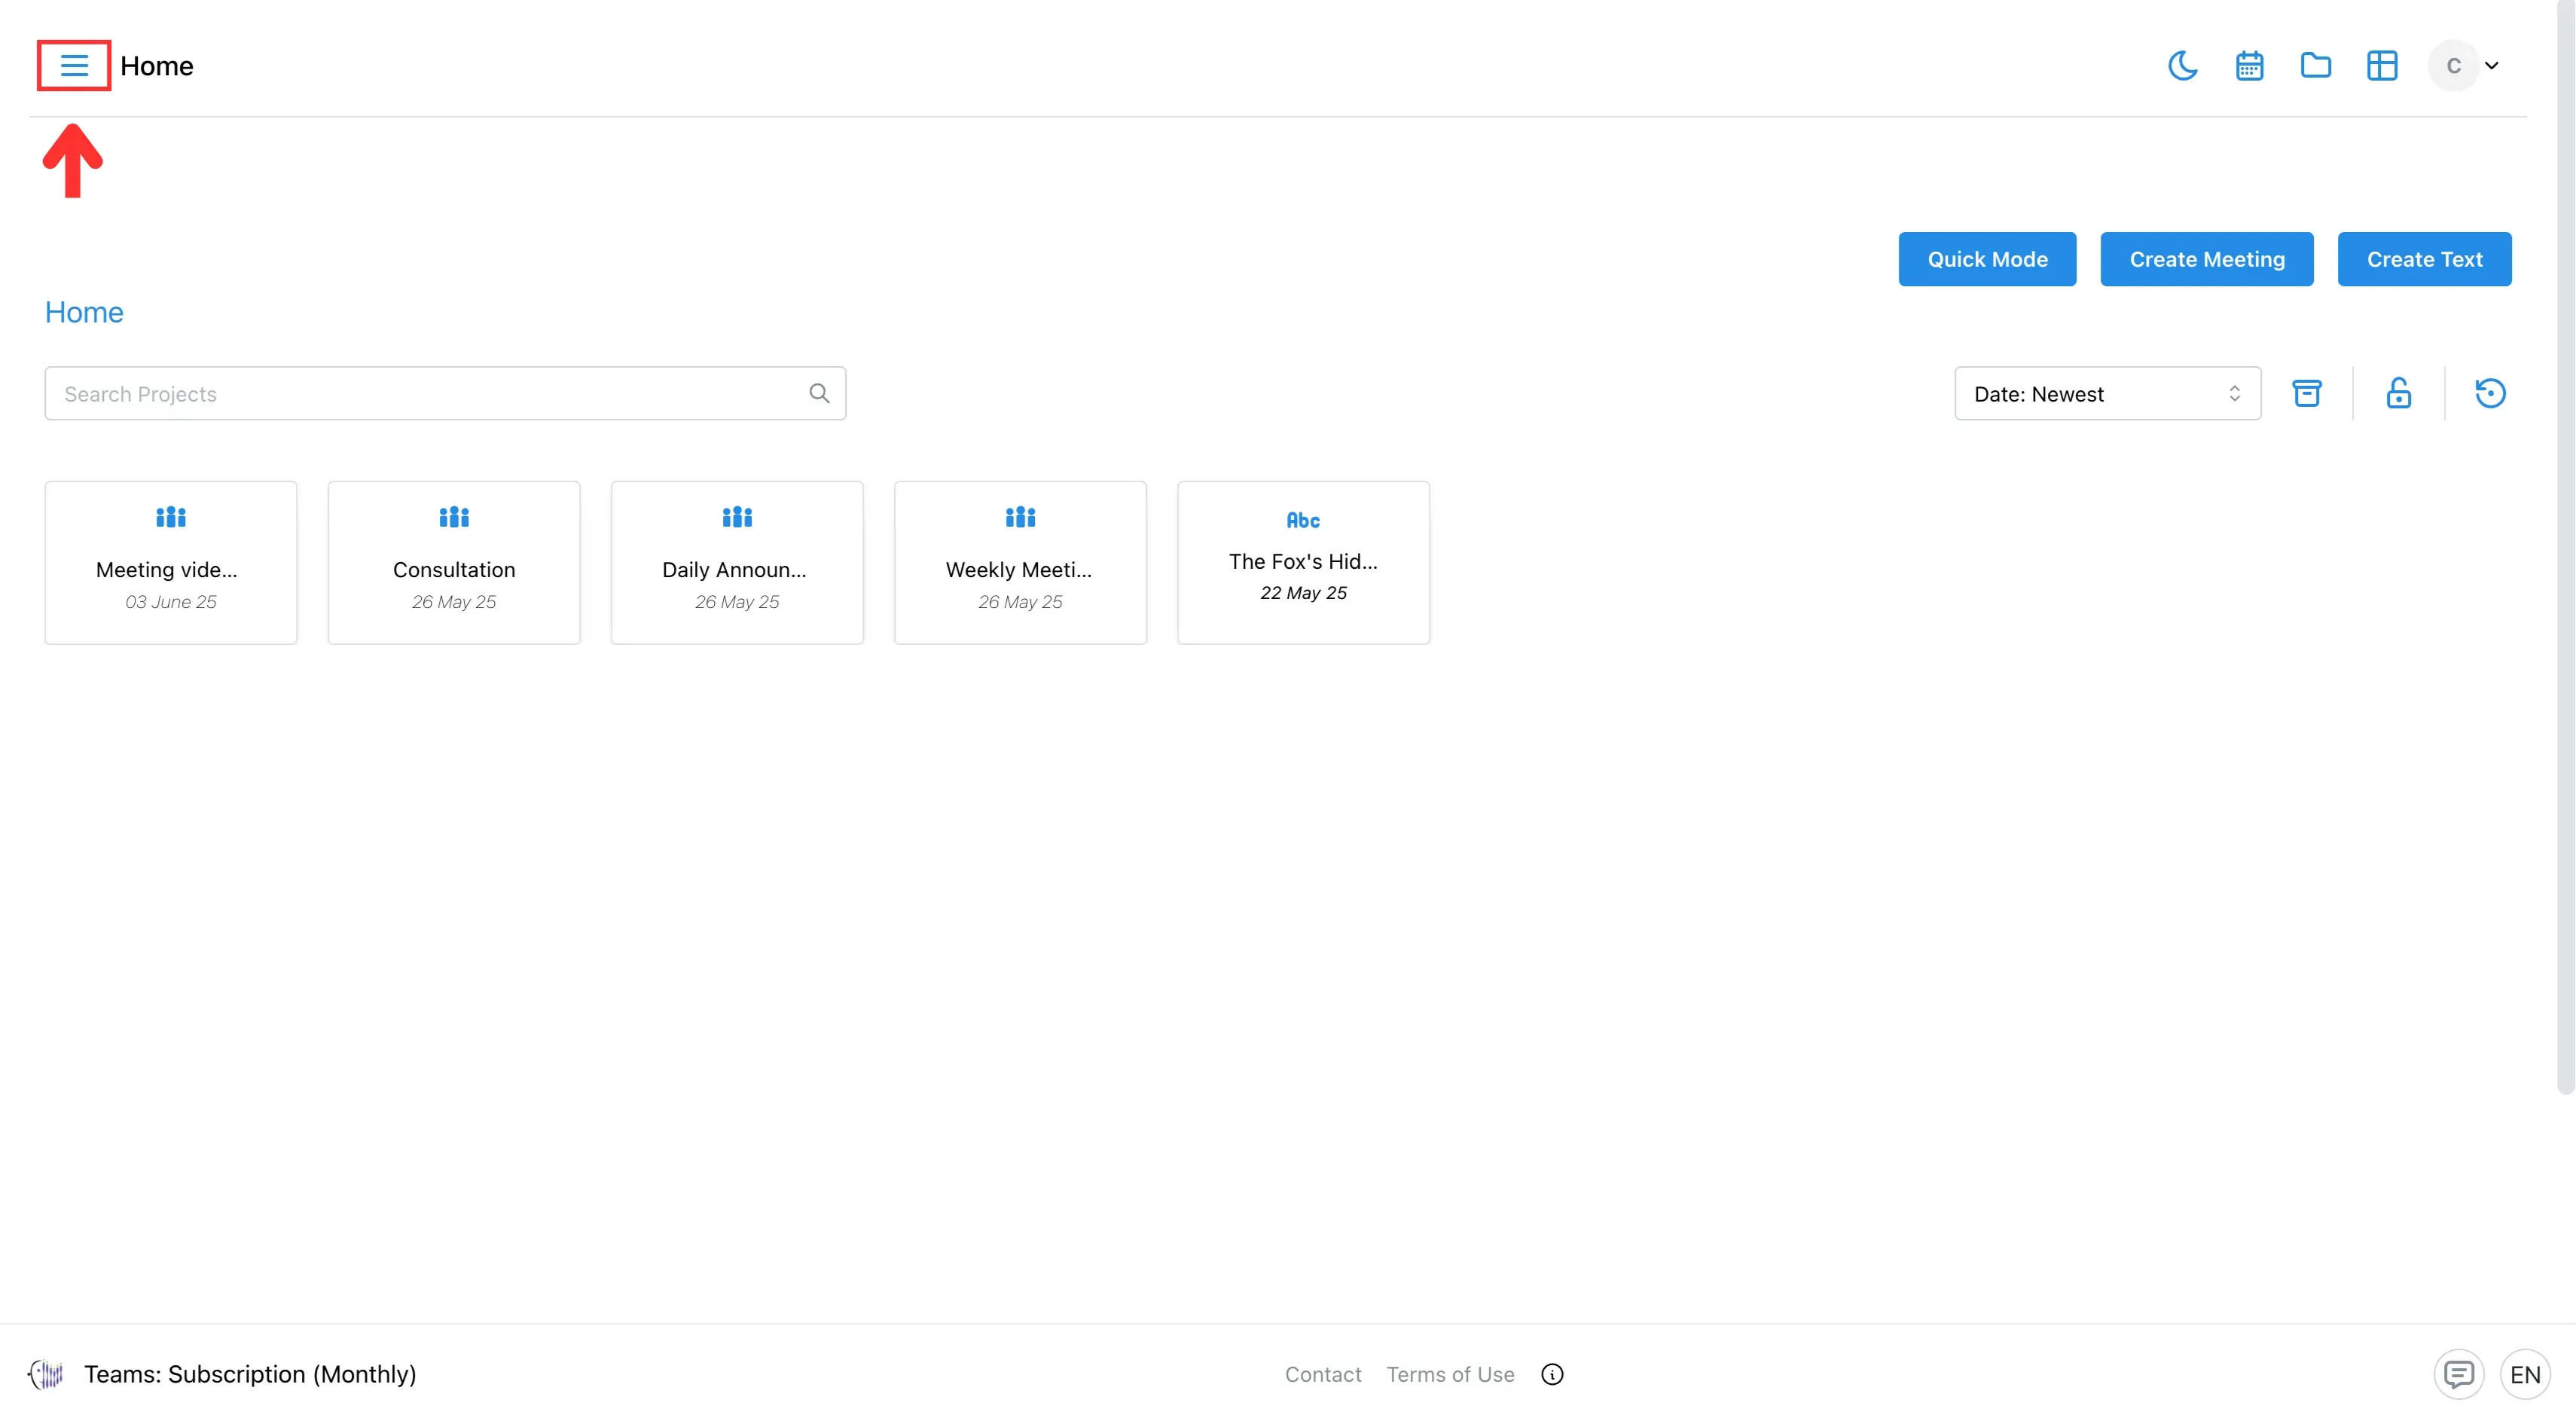
1. Open the Linguist Page
Click the three horizontal lines icon in the top-left corner of the screen.
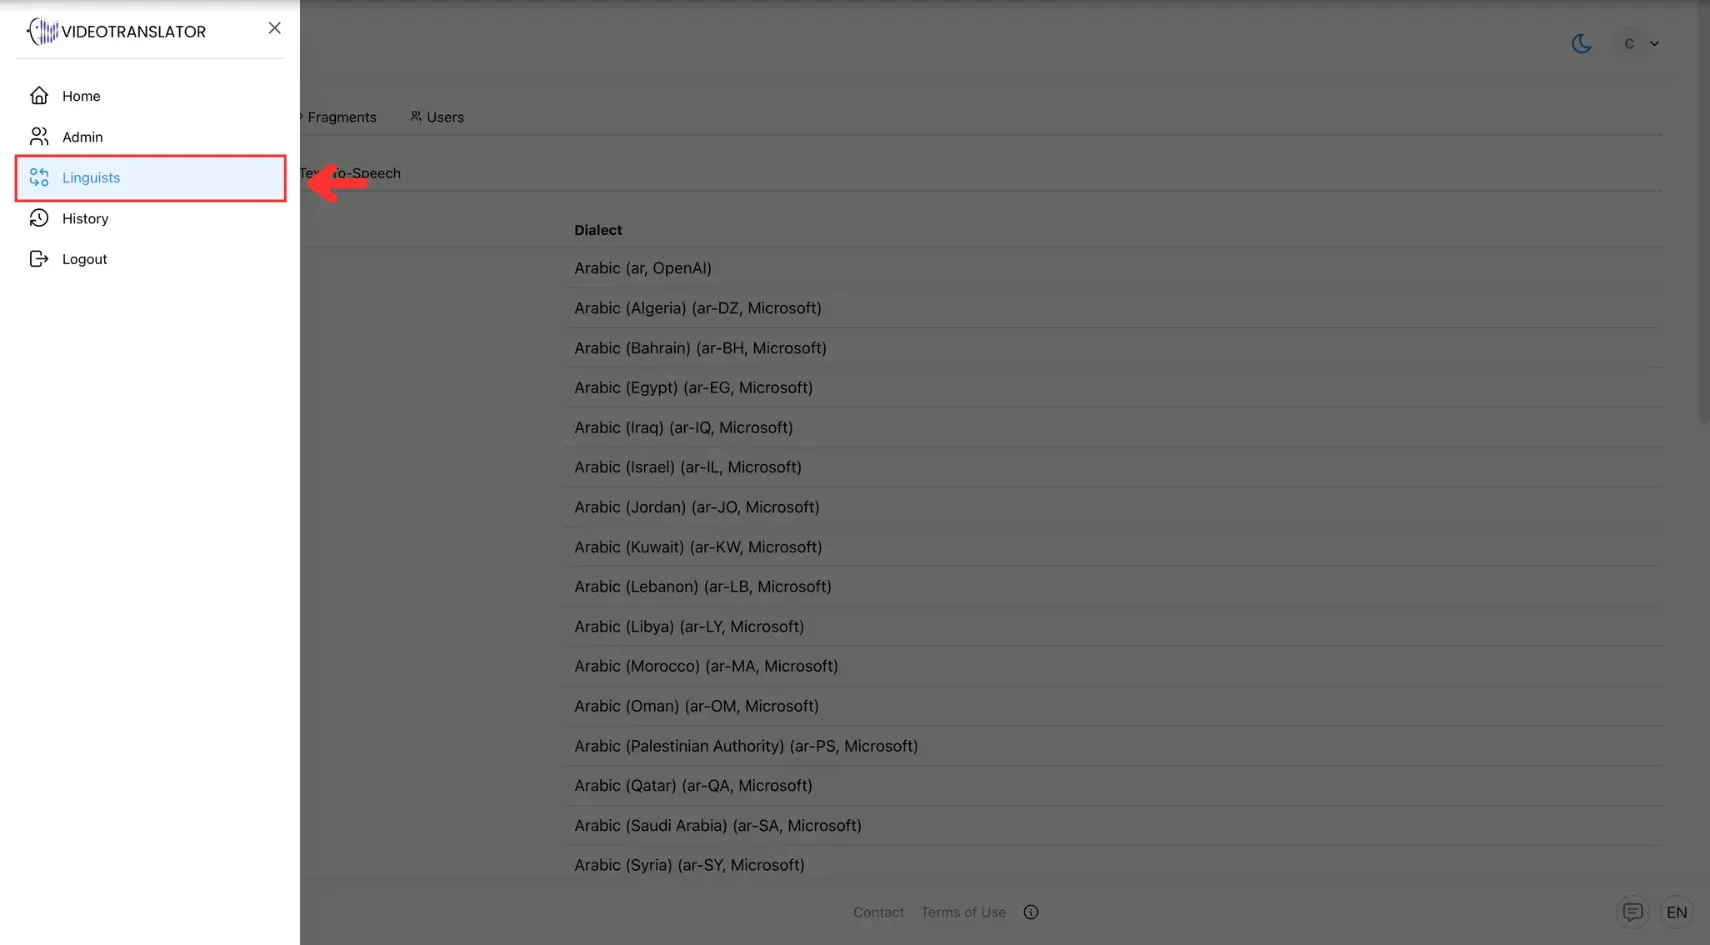
After that, select Linguist from the side menu.
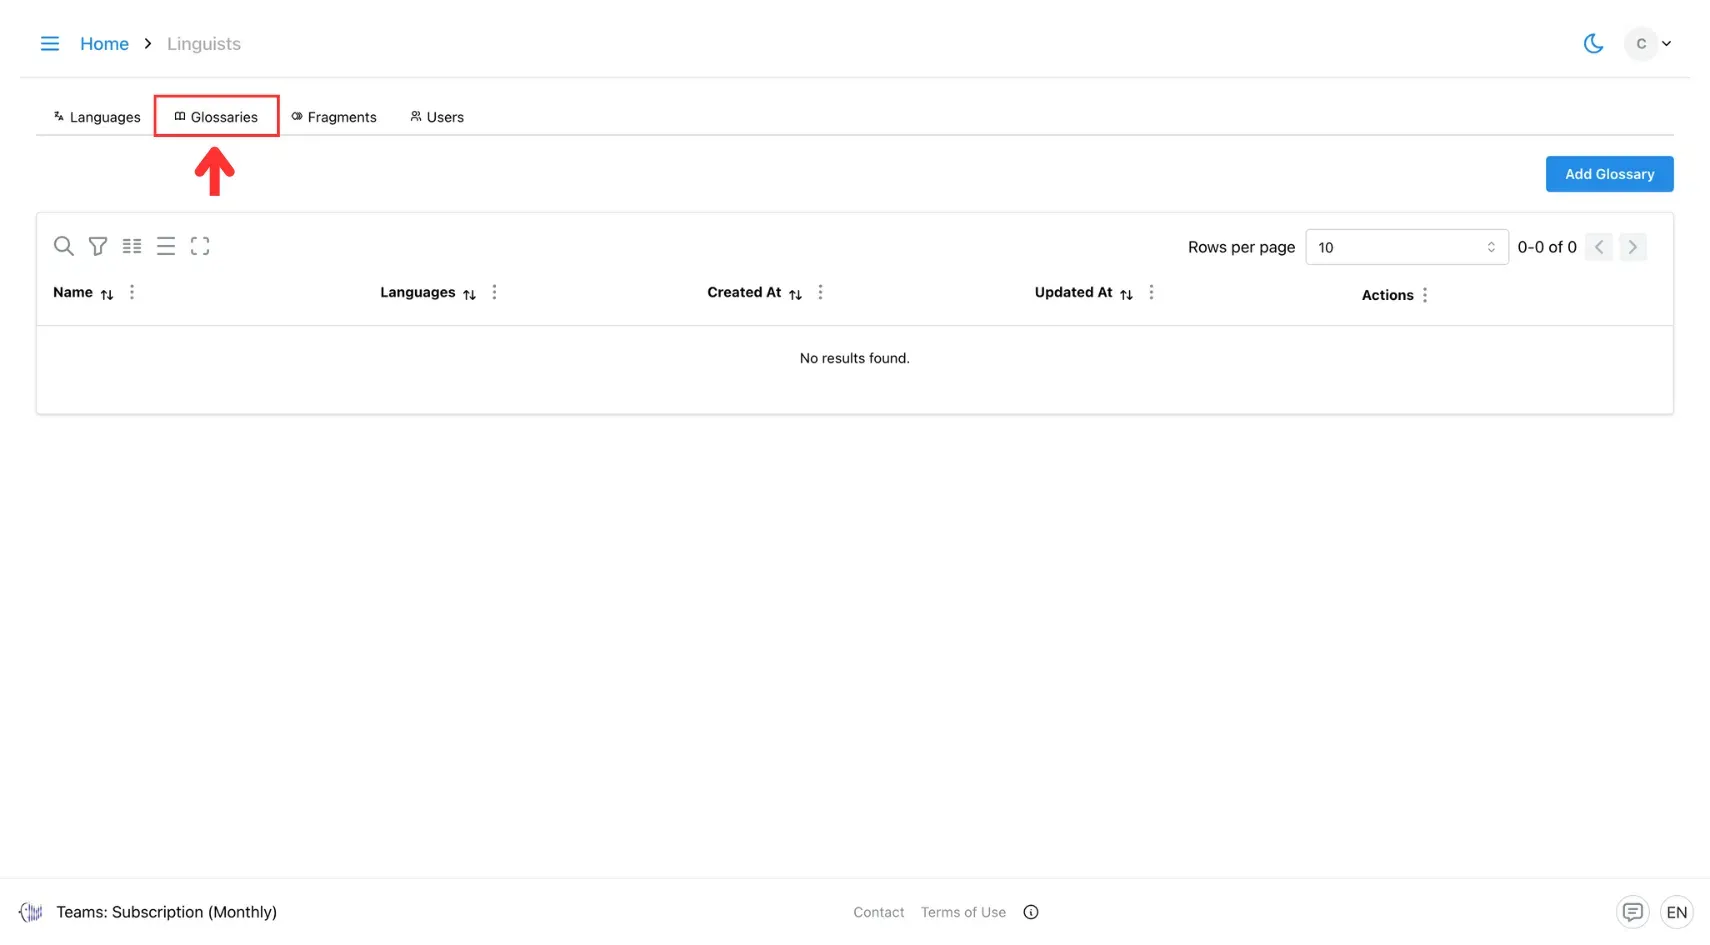
2. Go to the Glossaries Section
On the Linguist page, click the Glossaries tab.
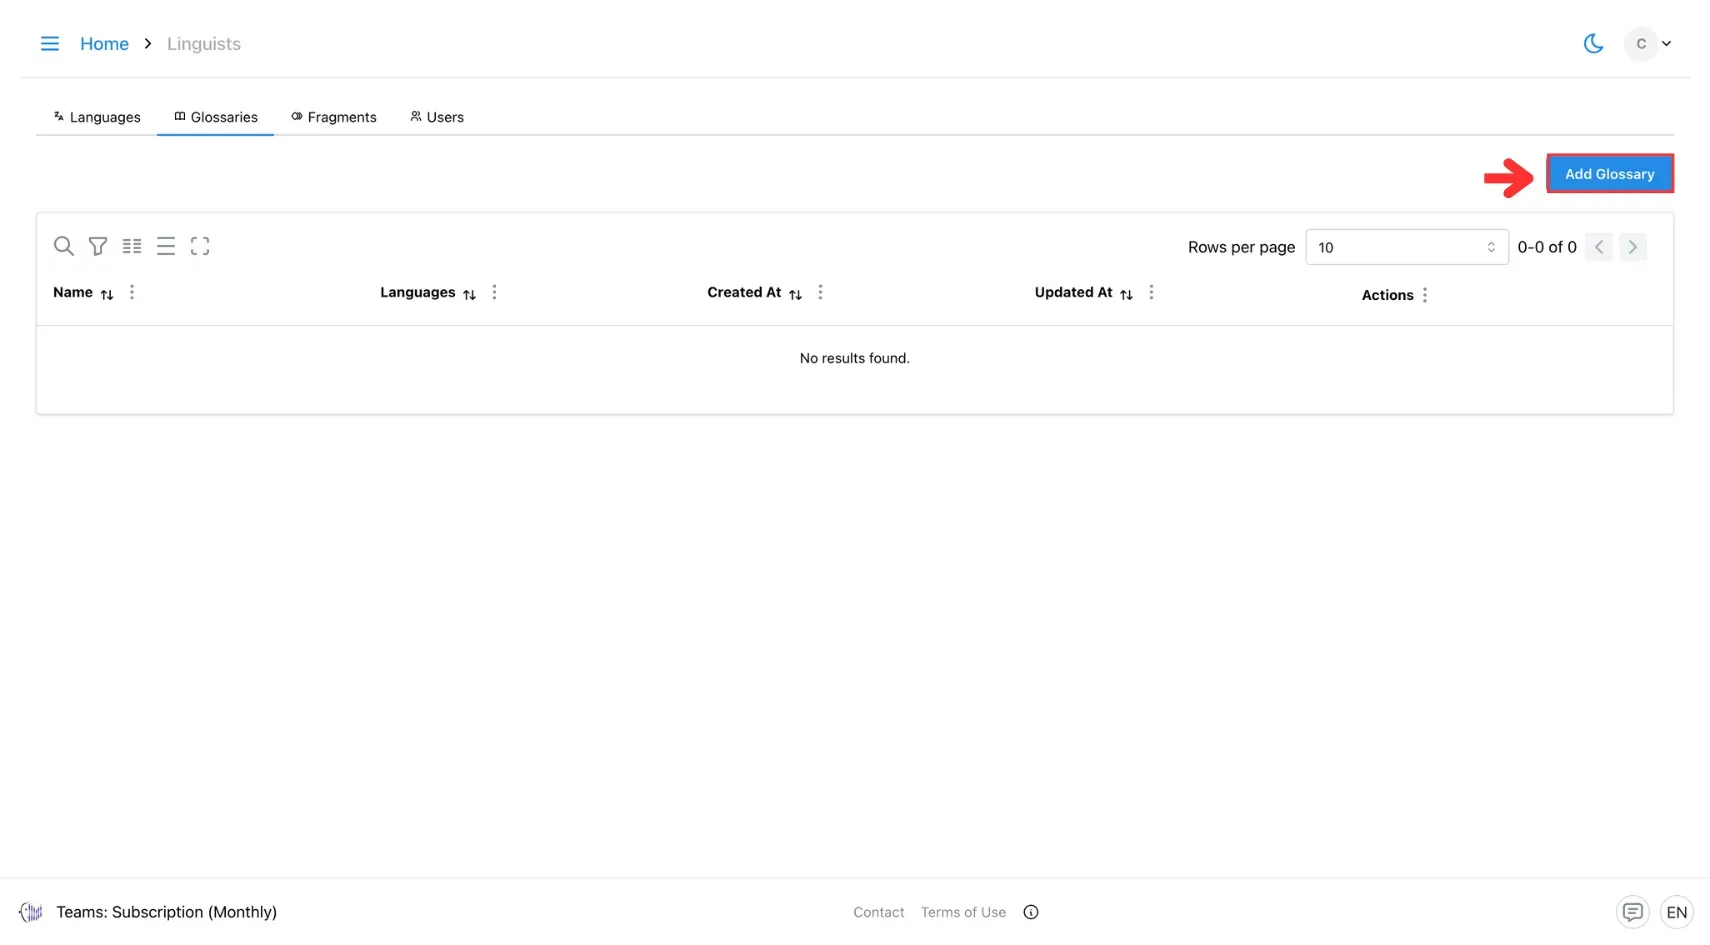
3. Click Add Glossary
Click the Add Glossary button to create a new glossary.
4. Fill in Glossary Details
Enter a dictionary name, choose the source and target languages, and upload your file in CSV format.
If you don’t have a file, you can proceed to the next step and add entries manually.
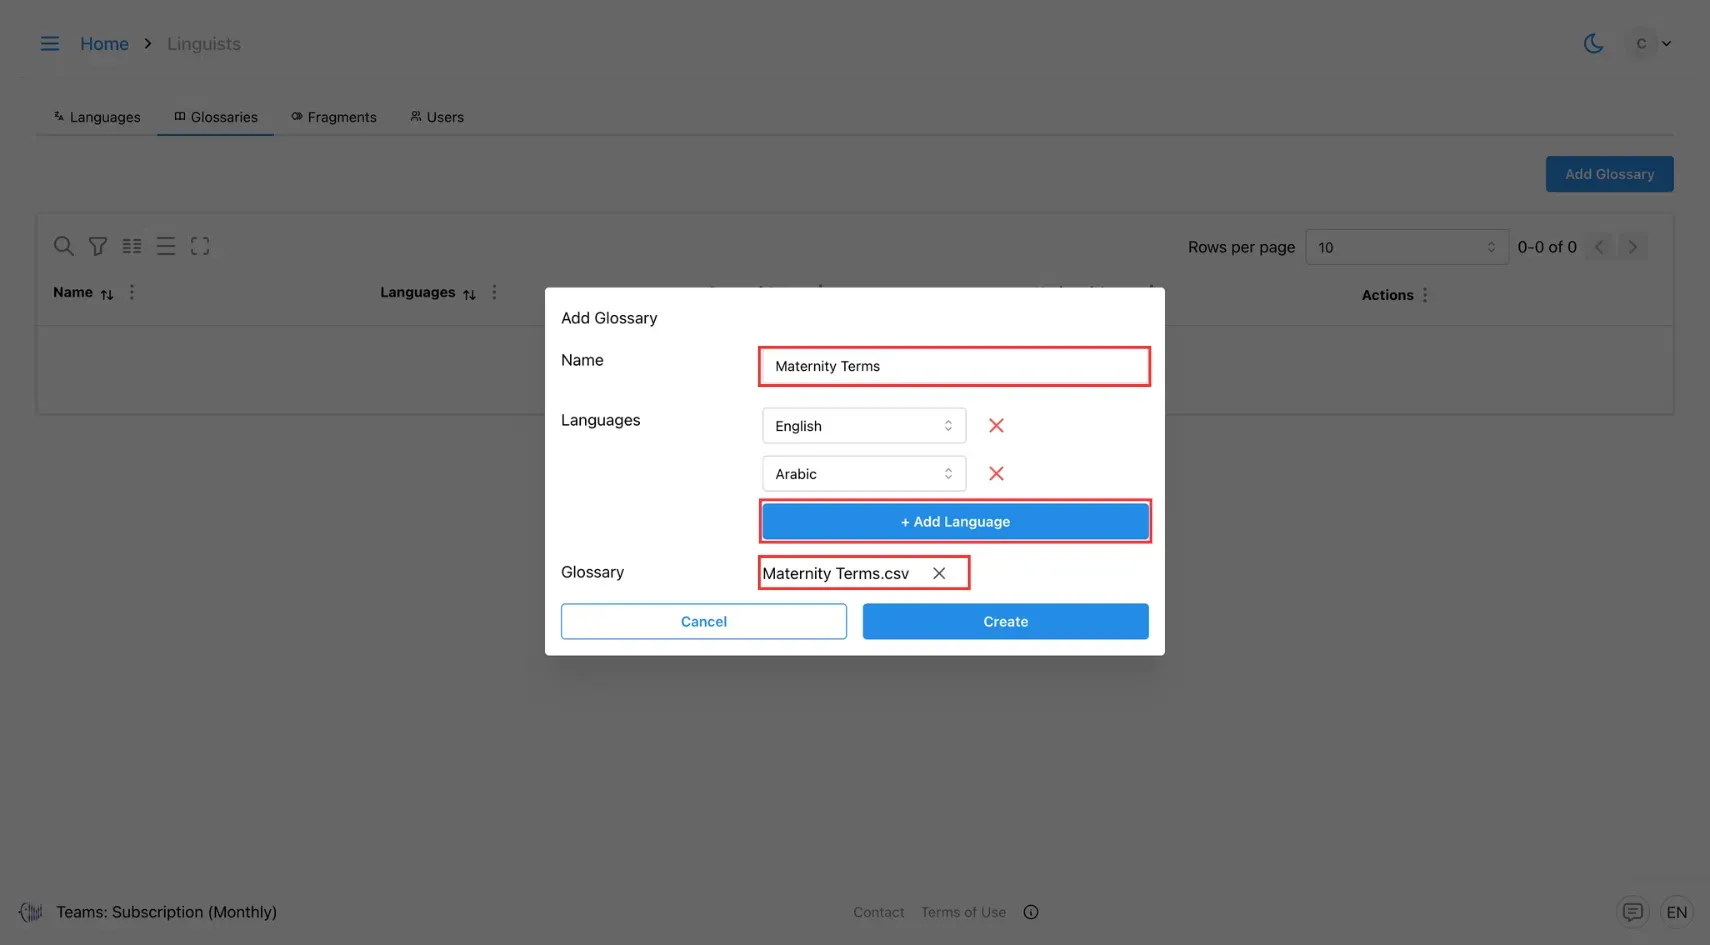
4. Click Create
Click the Create button to save your glossary.

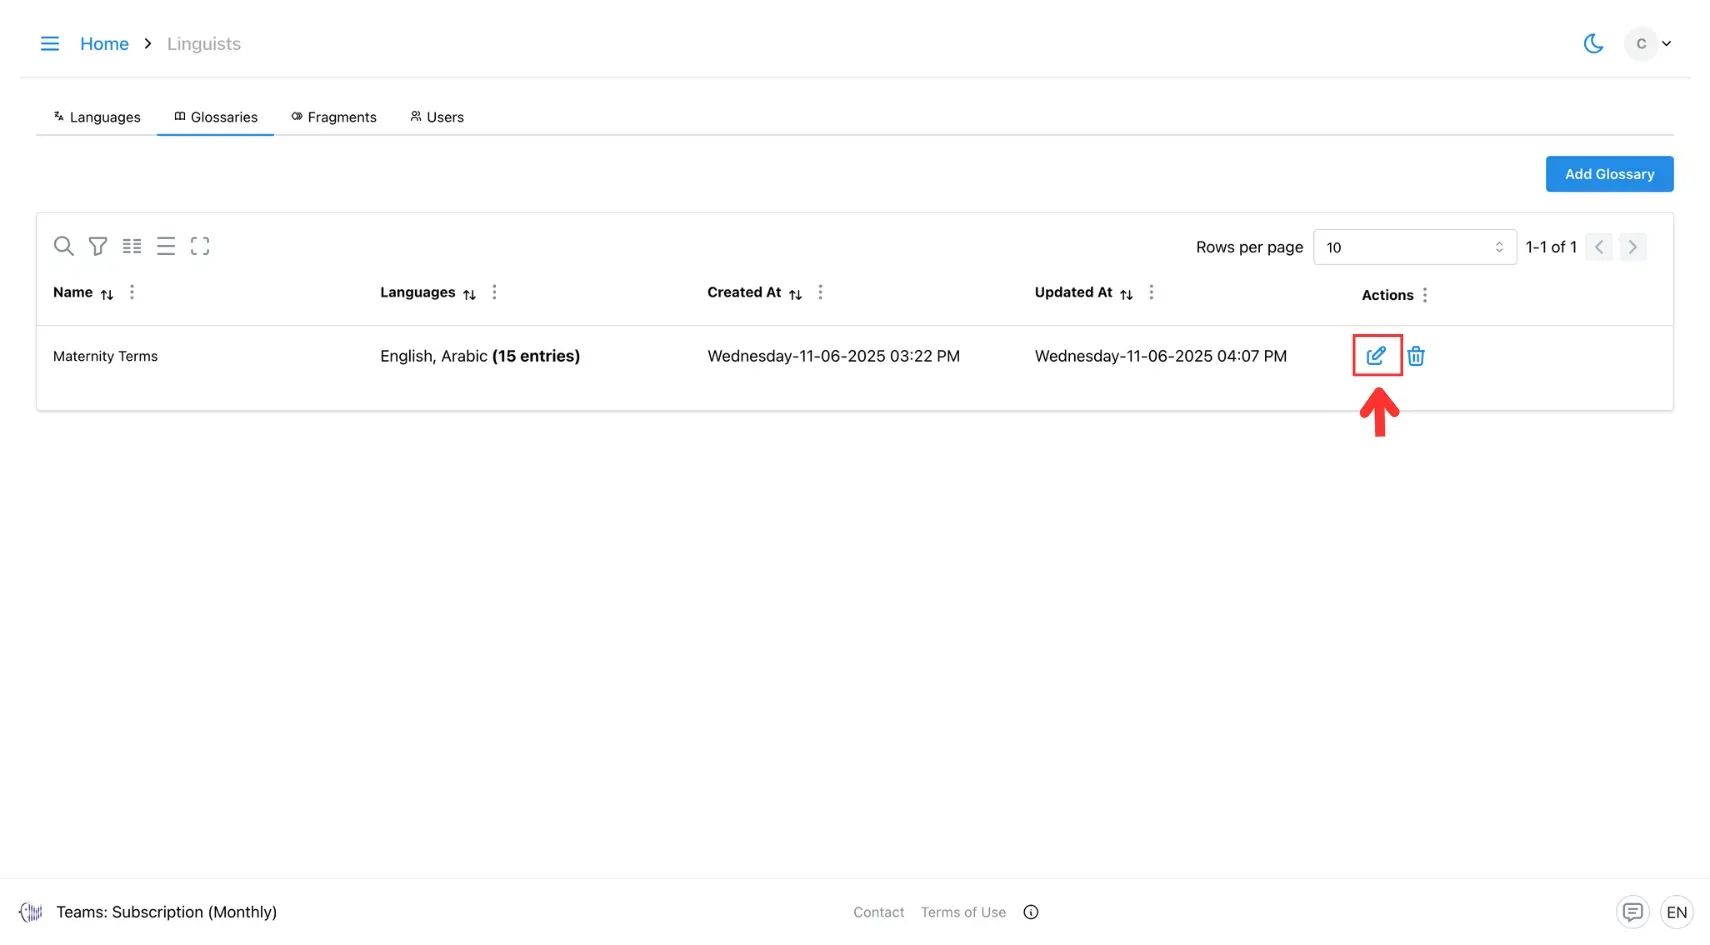
2. View, Add, or Update Glossary:
1. Click Edit Glossary
On the Glossaries tab, locate the glossary you want to update and click the Edit Glossary icon next to it.
2. Add New Entries
To add a new entry, navigate to the bottom of the existing list. Click the Add Item button, then input the term and its corresponding translation.
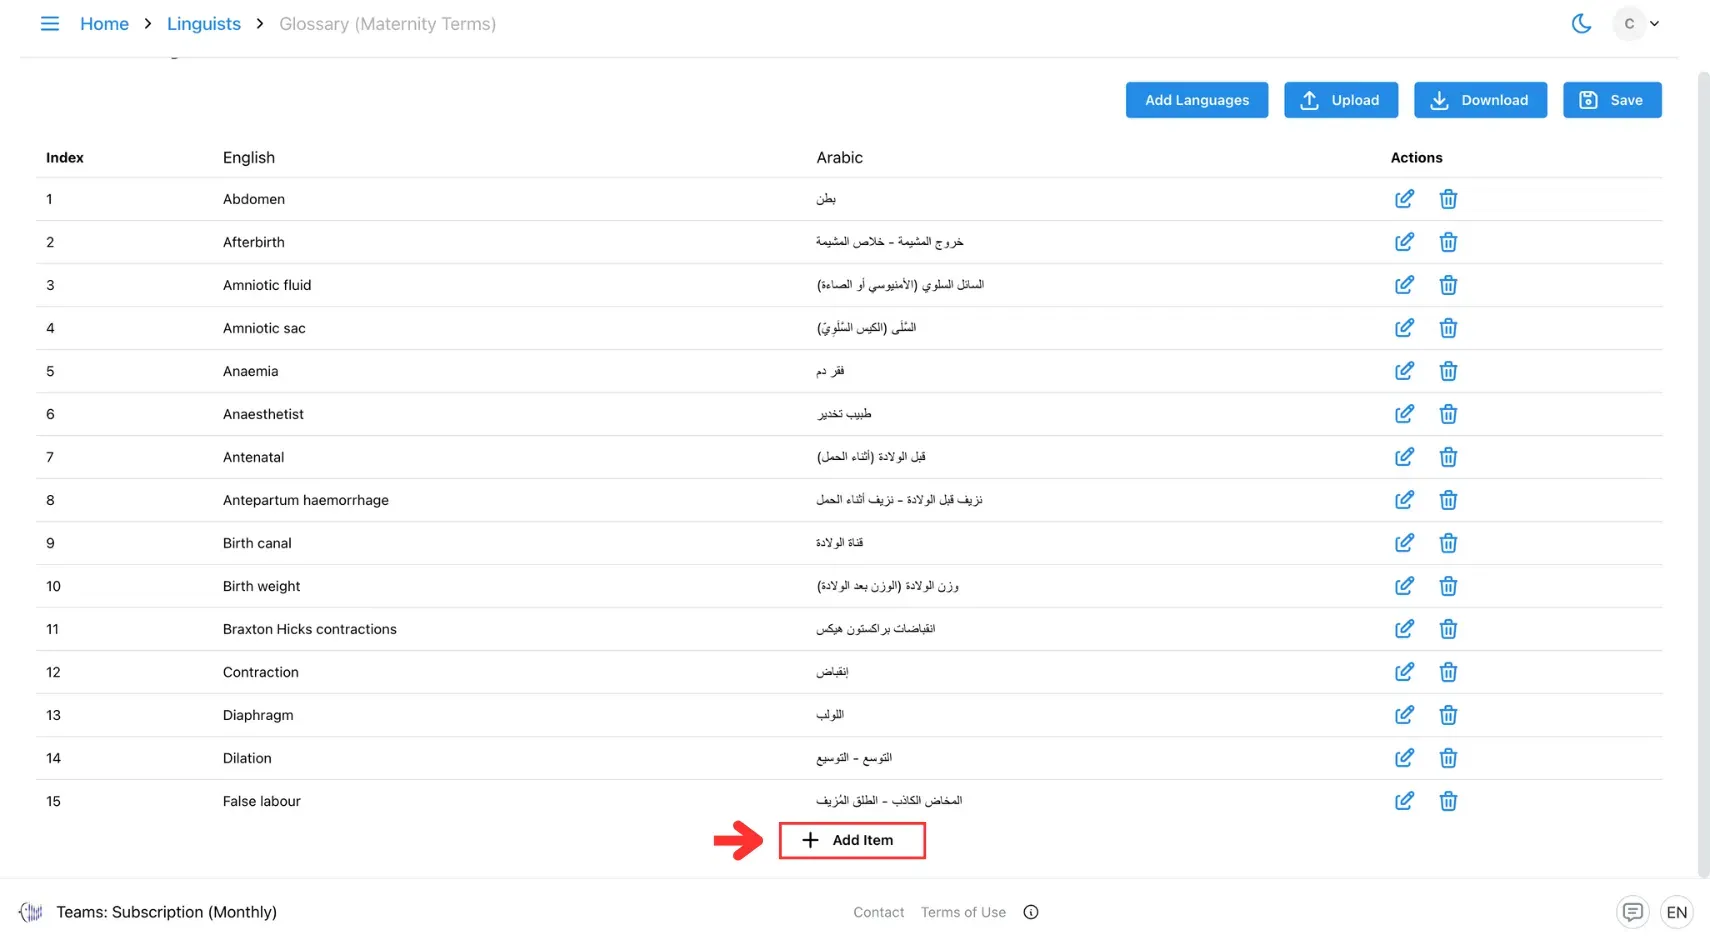
3. Edit Existing Entries
To update an existing entry, click the Edit button next to the term you want to modify, or click directly on the term or translation field to make your changes.

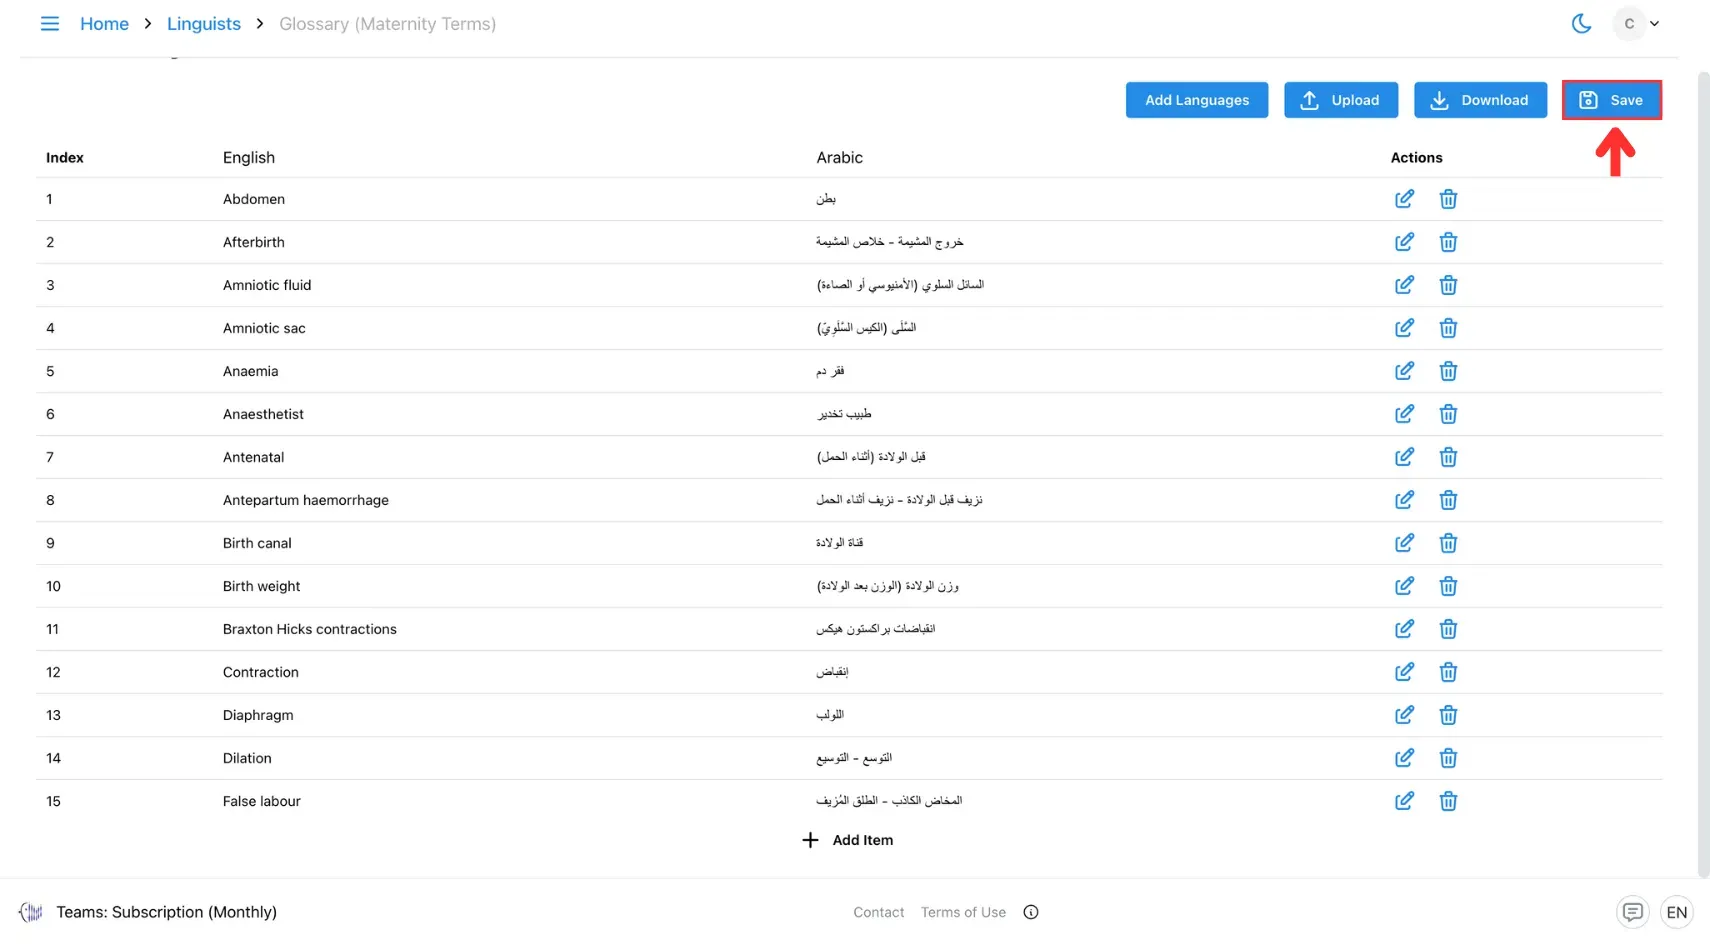
4. Save Changes
Once you’re done, click the Save button to apply all updates.