2. Create A Multilingual In-Person Meeting
Learn how to set up an in-person meeting with multilingual support, including setting the meeting name and language options for live interpretation.
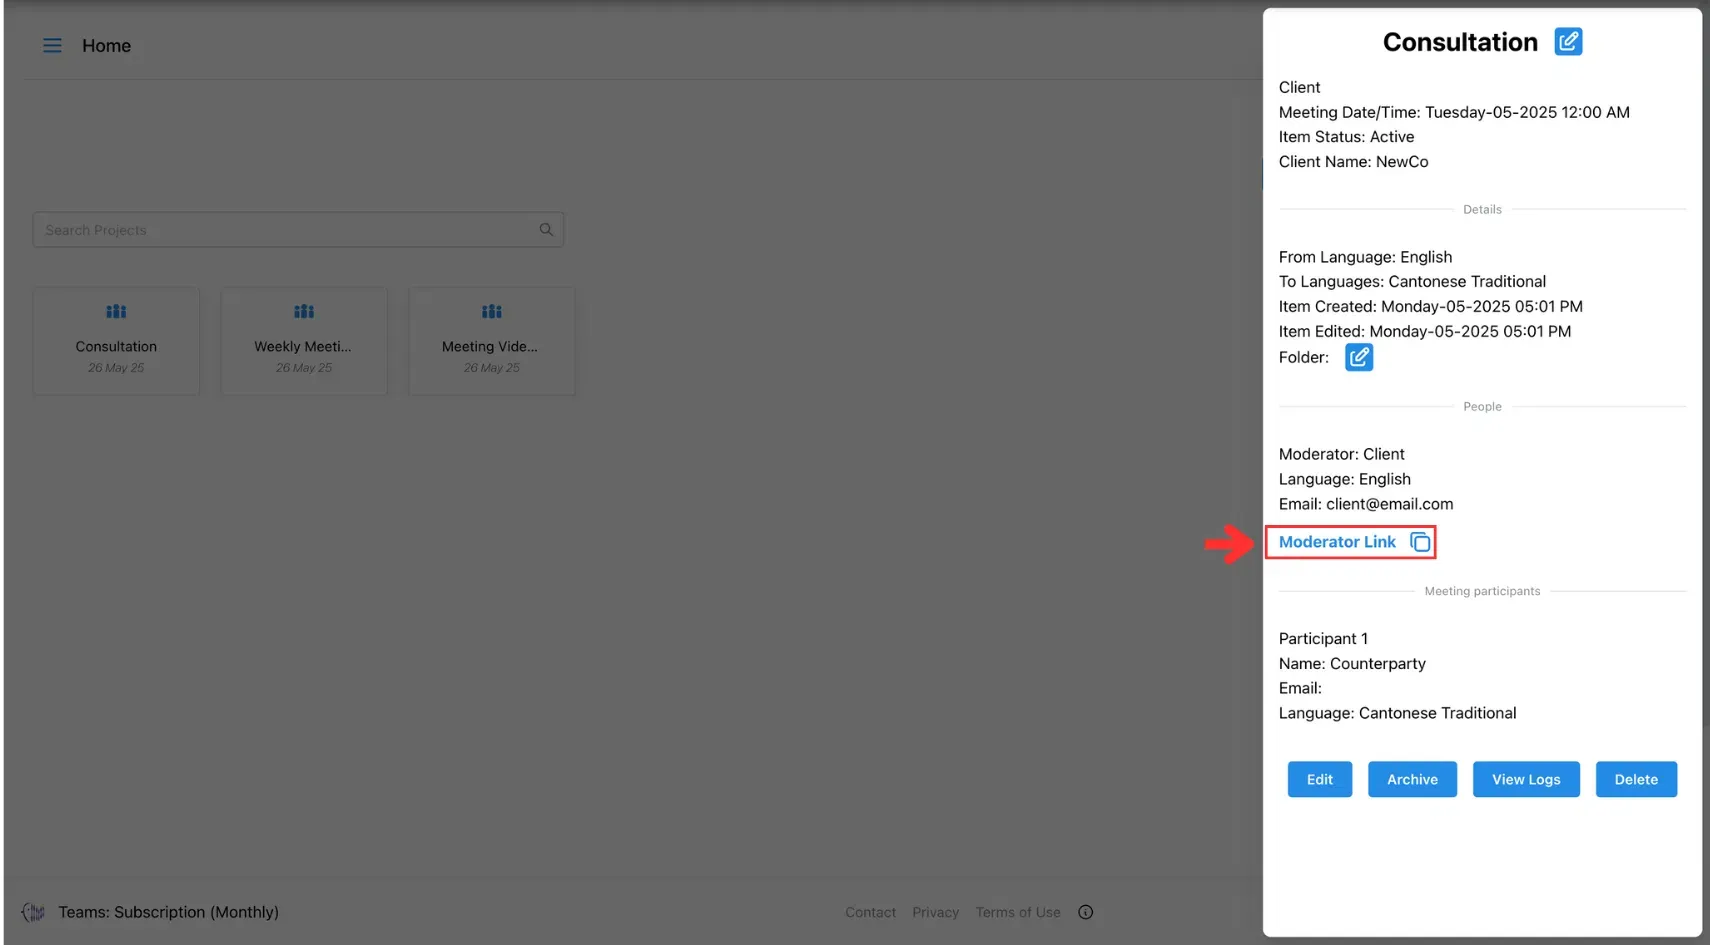
A Multilingual In-Person Meeting enables real-time translation during face-to-face conversations between participants in the same physical space. Each person speaks their own language, and the system provides live subtitles with optional text-to-speech. Please note: each meeting supports only two languages
There are two ways to create a multilingual in person meeting: using Quick Mode for instant setup or Custom Setup for more control and scheduling options.
Method 1: Quick Mode (Instant Setup)
Ideal for impromptu situations, Quick Mode lets you set up an in-person translator instantly. Participants can choose their spoken language and switch languages anytime during the meeting for greater flexibility.
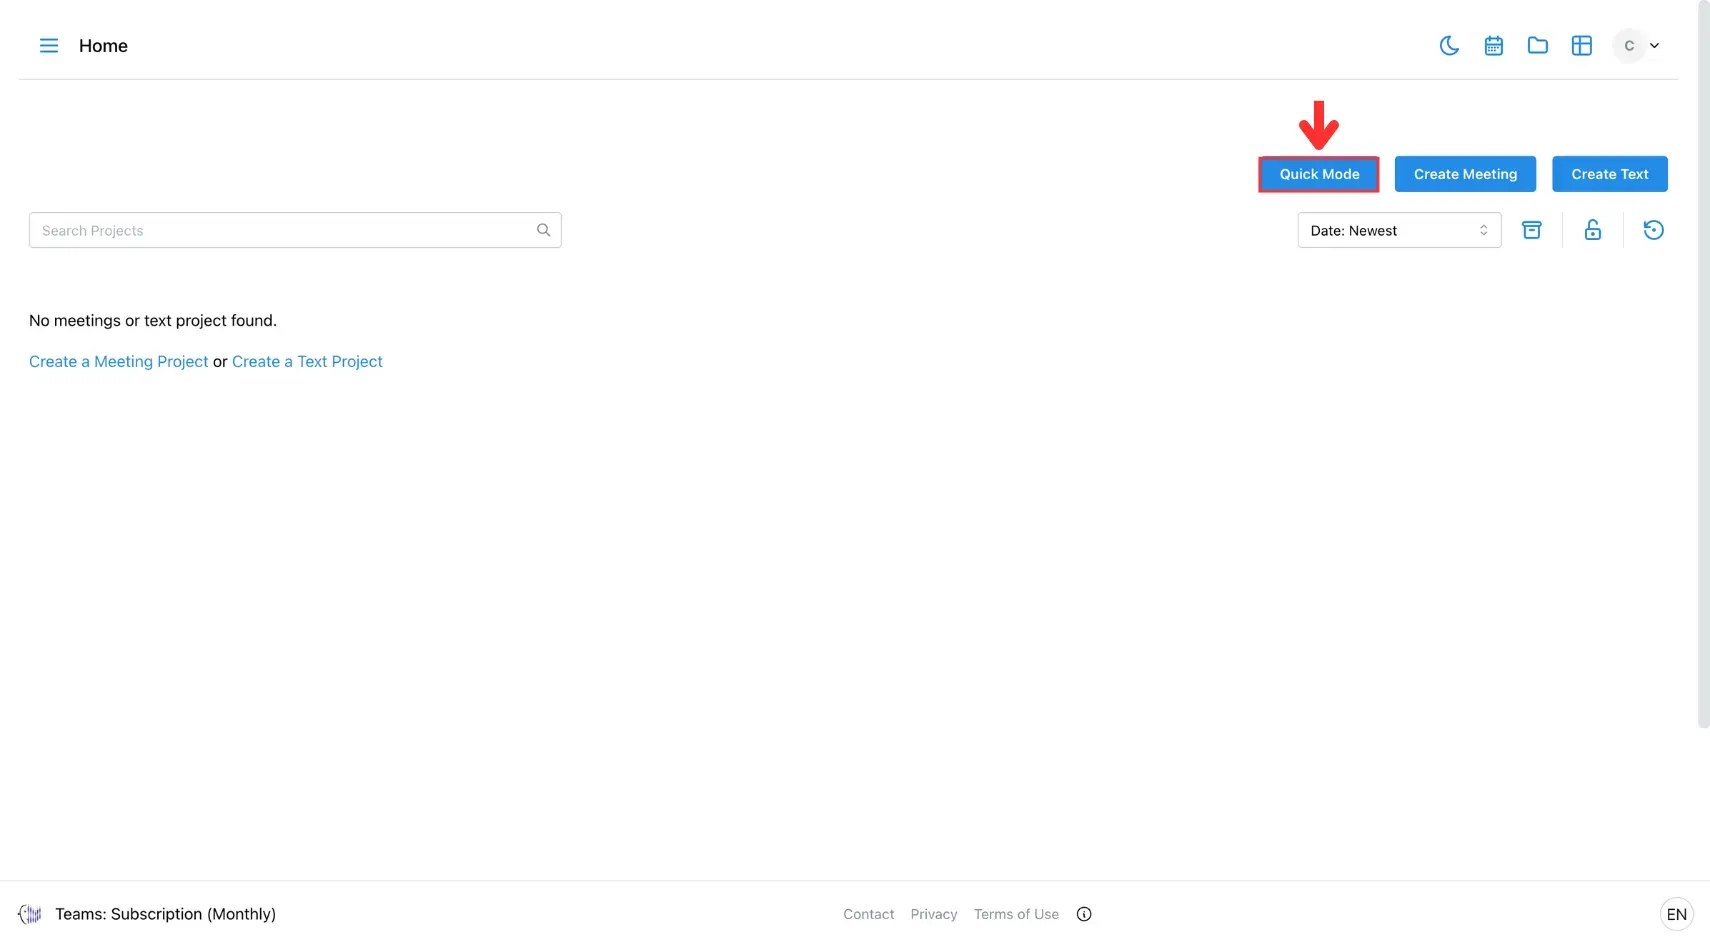
1. Click Quick Mode
Select the Quick Mode button in the top-right corner of the screen.
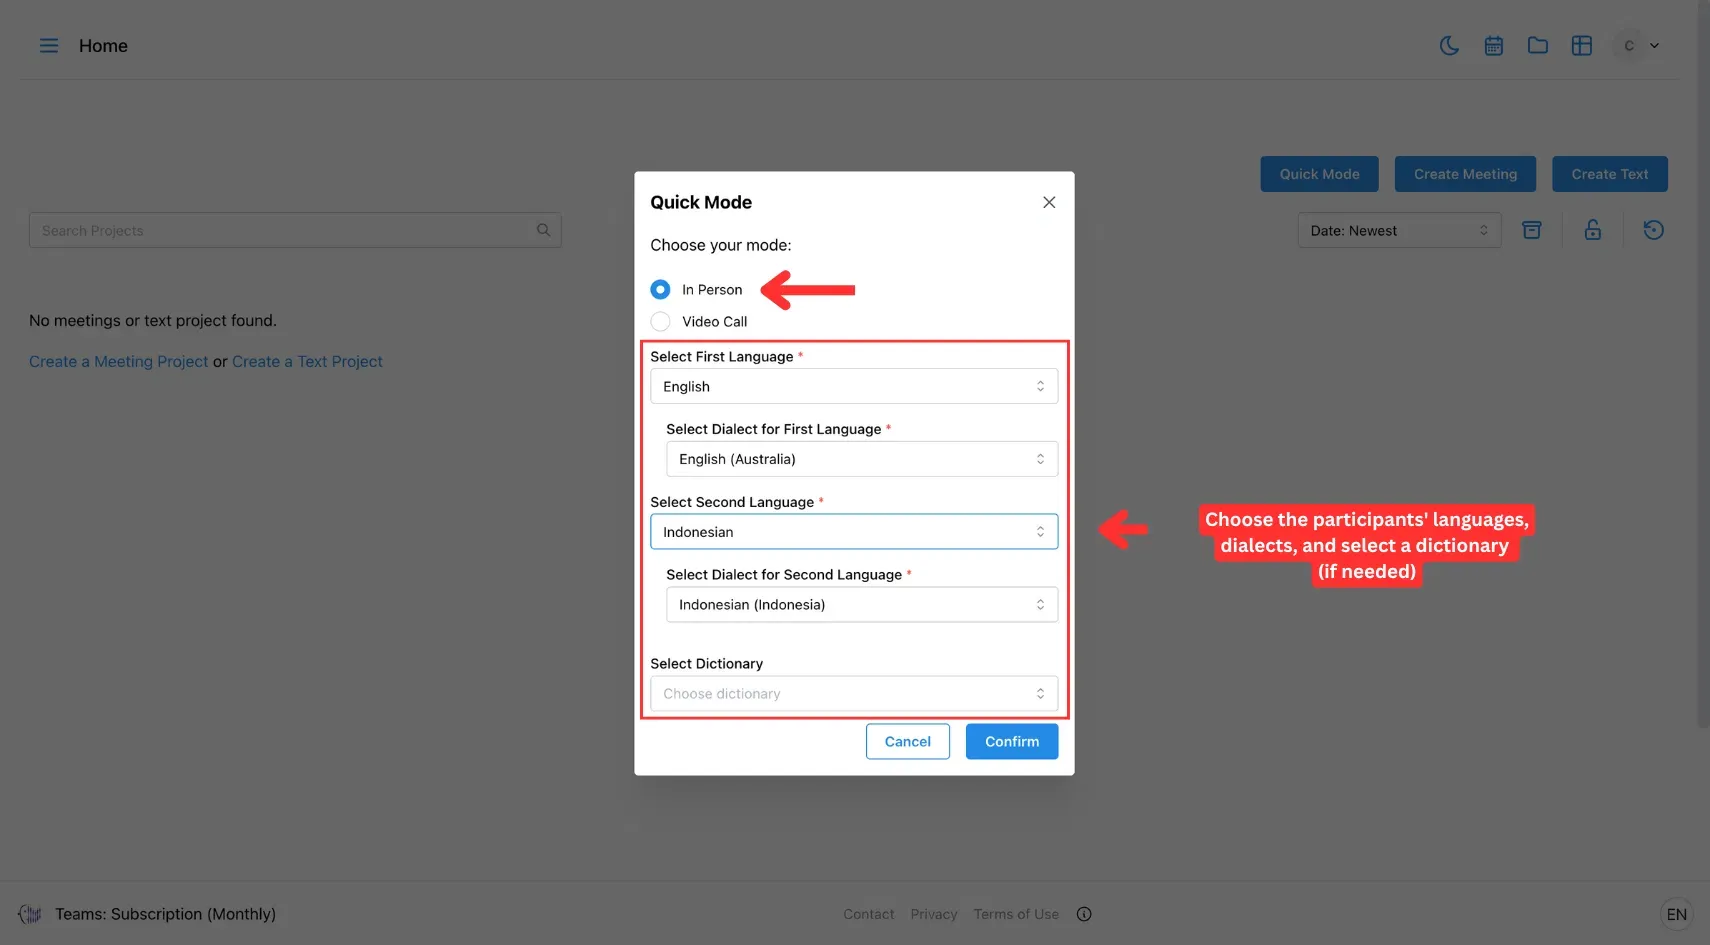
2. Choose Meeting Type, Languages, and Dialects
Select In Person, then choose the two spoken languages, dialects, and a dictionary (if needed).
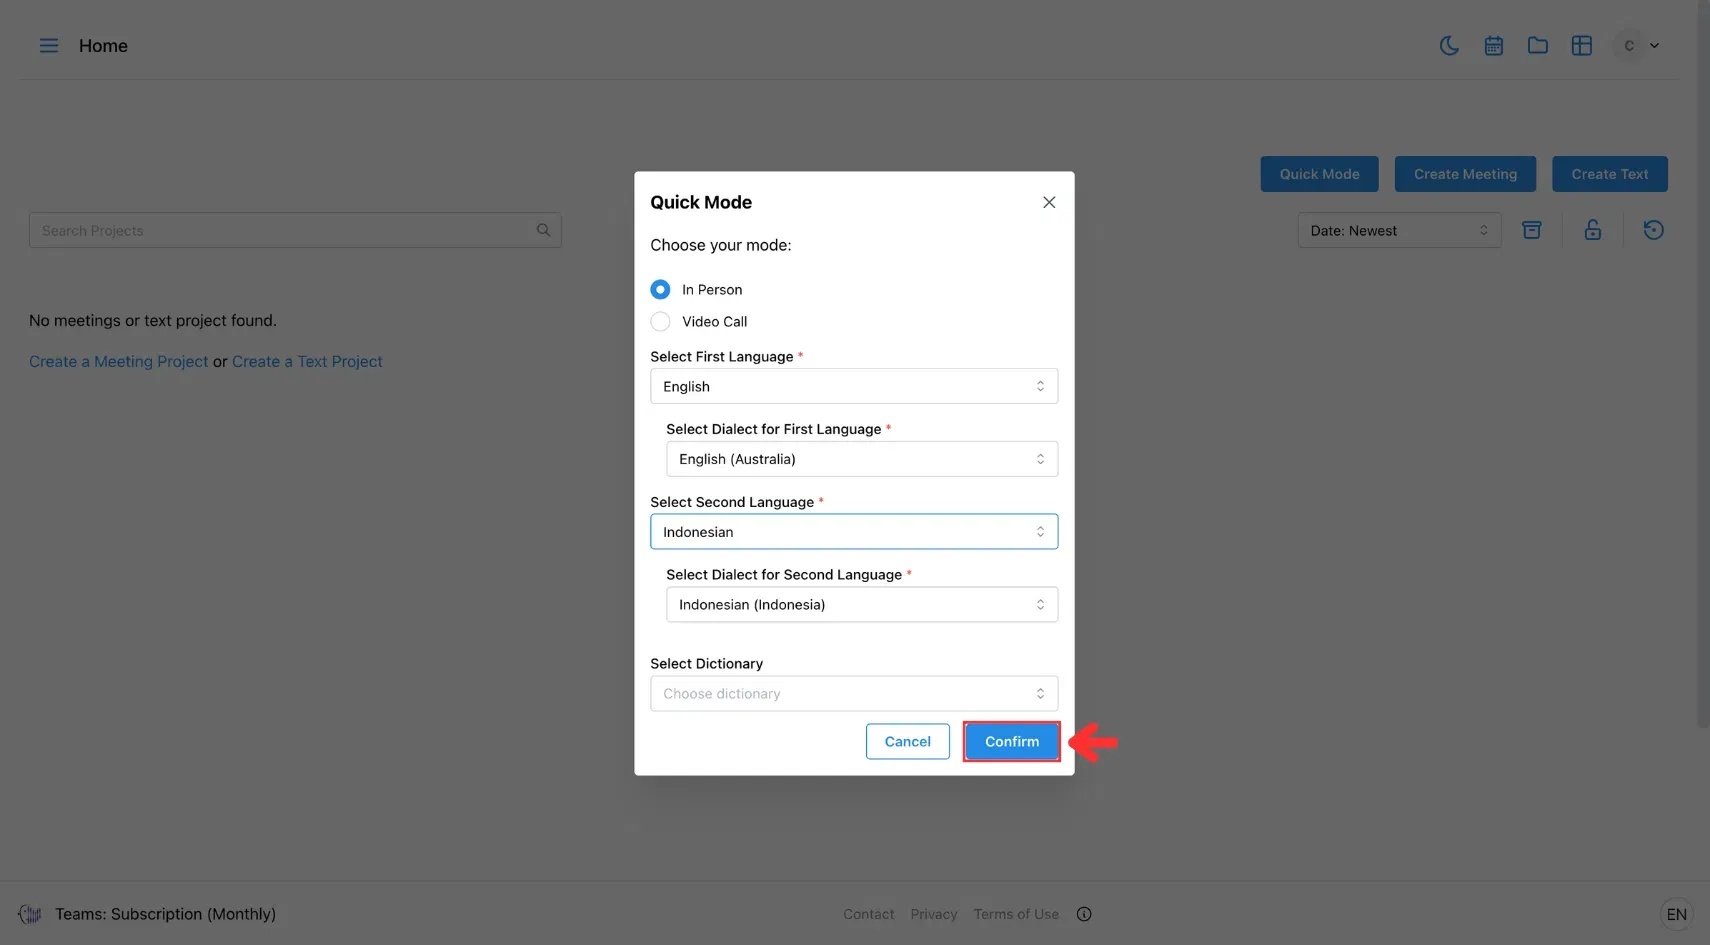
Click Confirm once selections are made.
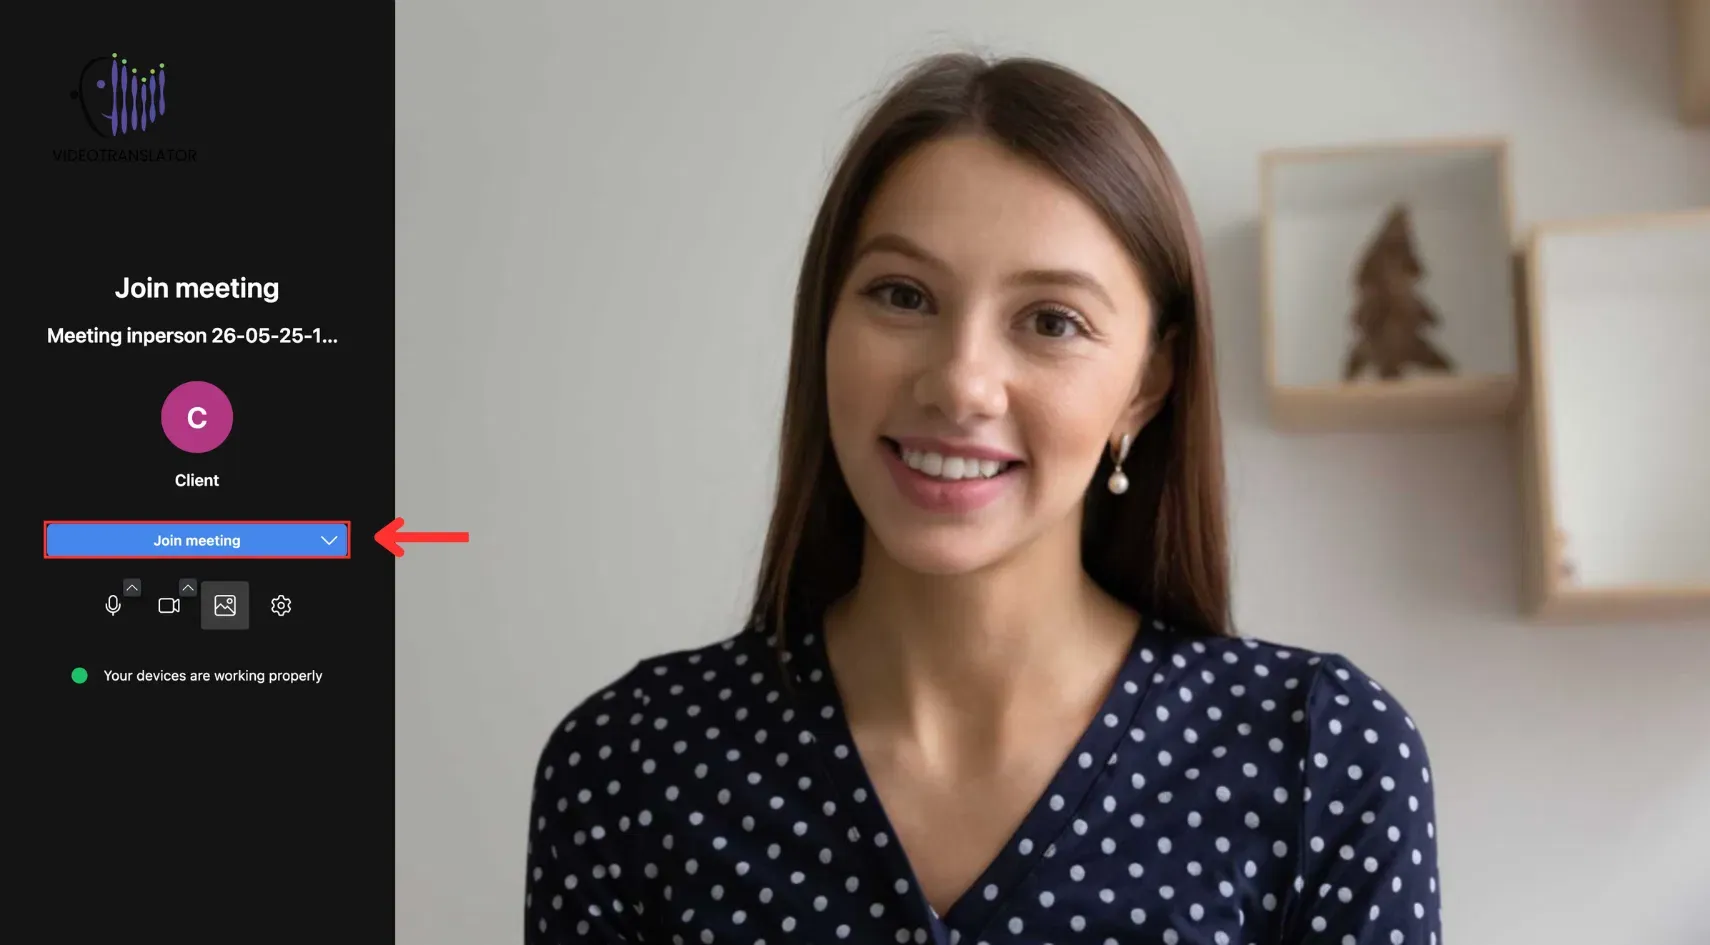
3. Join the Meeting
Click Join Meeting to start the multilingual conversation.
Method 2: Custom Setup
Use this method when you need to configure the meeting in advance, such as assigning roles, setting specific languages per participant, or scheduling for a future time.
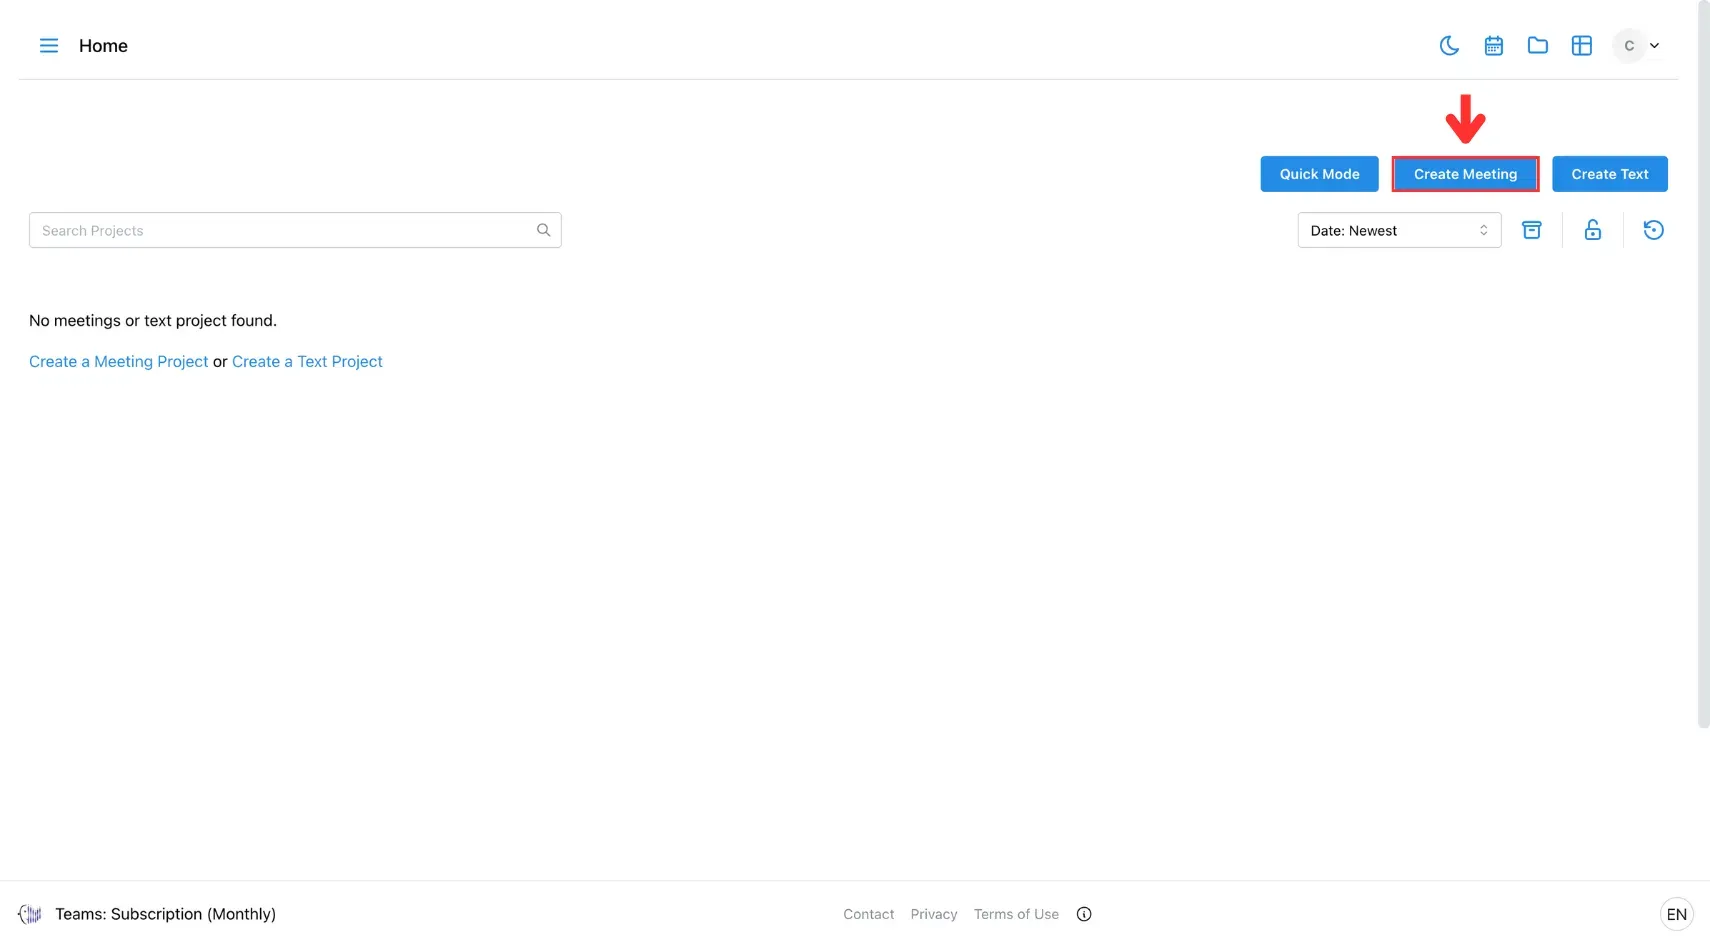
1. Click Create Meeting
Select the Create Meeting button in the top-right corner of the screen.
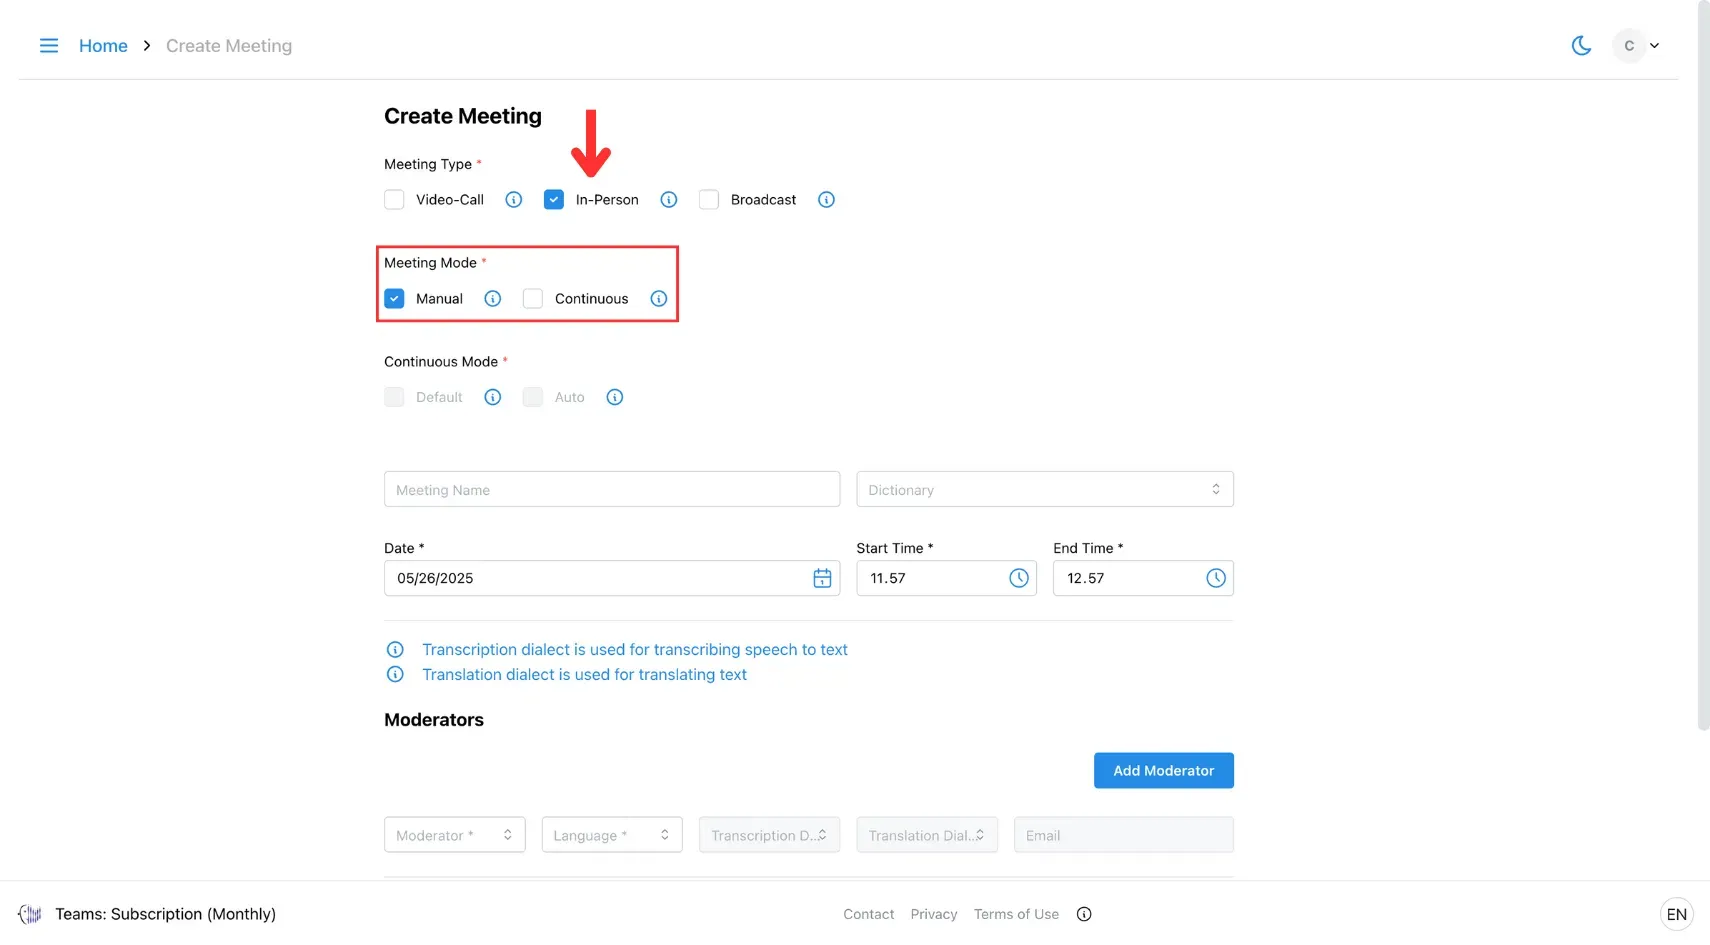
2. Choose Meeting Mode
Select In Person, then choose your preferred mode:
- Manual Mode: You’ll manually toggle the translation button for better accuracy.
- Continuous Mode: Translates automatically without toggling.
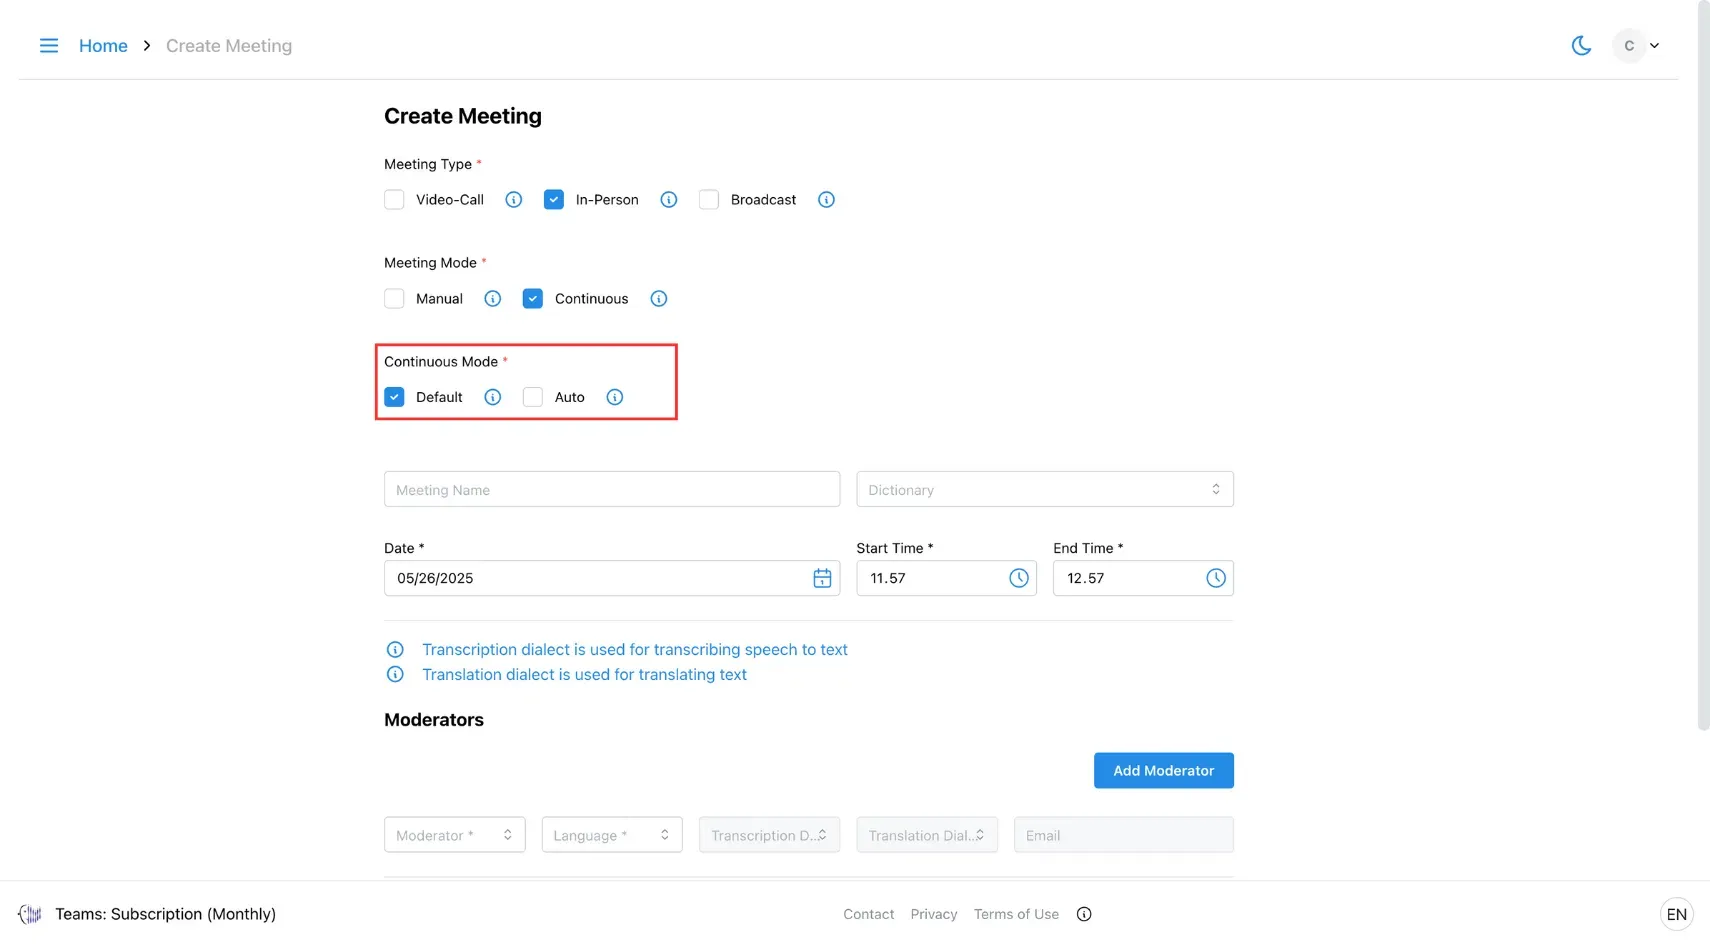
If using Continuous Mode, choose one of the sub-options:
- Default Mode: Manually indicate speakers by clicking a switch button.
- Auto Mode: Speech is continuously detected and auto-identified by language, so no toggling is needed.
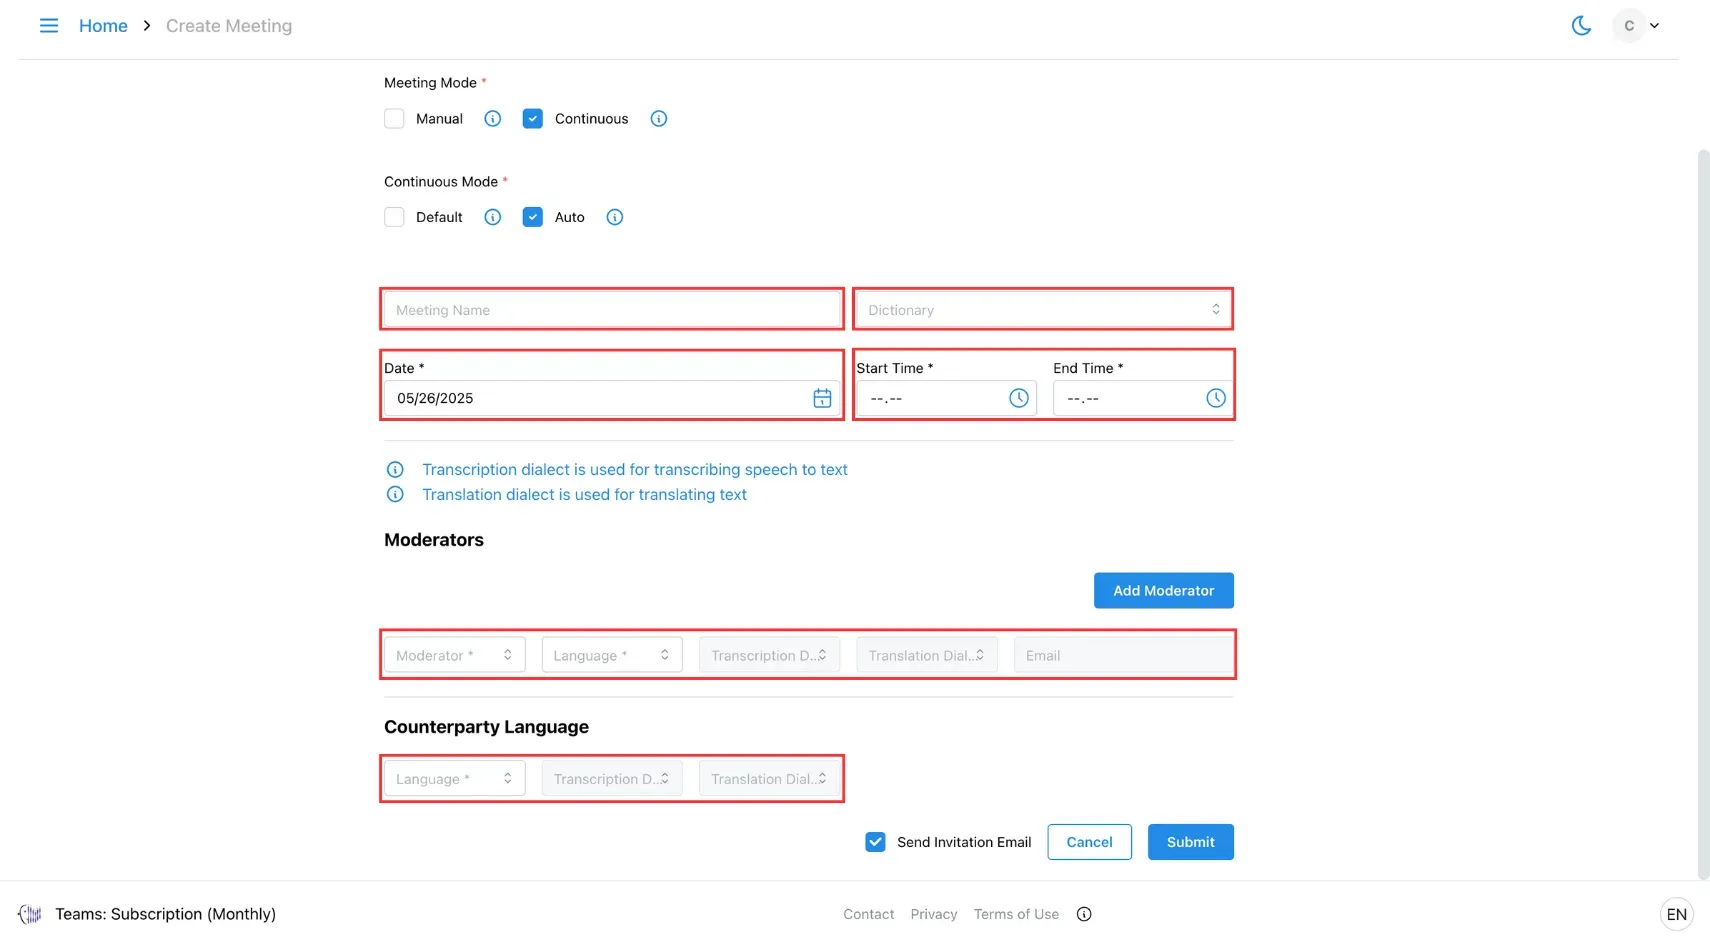
3. Fill In Meeting Details
Complete all required fields (especially those marked with *).
- In Transcription Dialect, choose the AI for transcribing speech.
- In Translation Dialect, choose the AI for translating text.
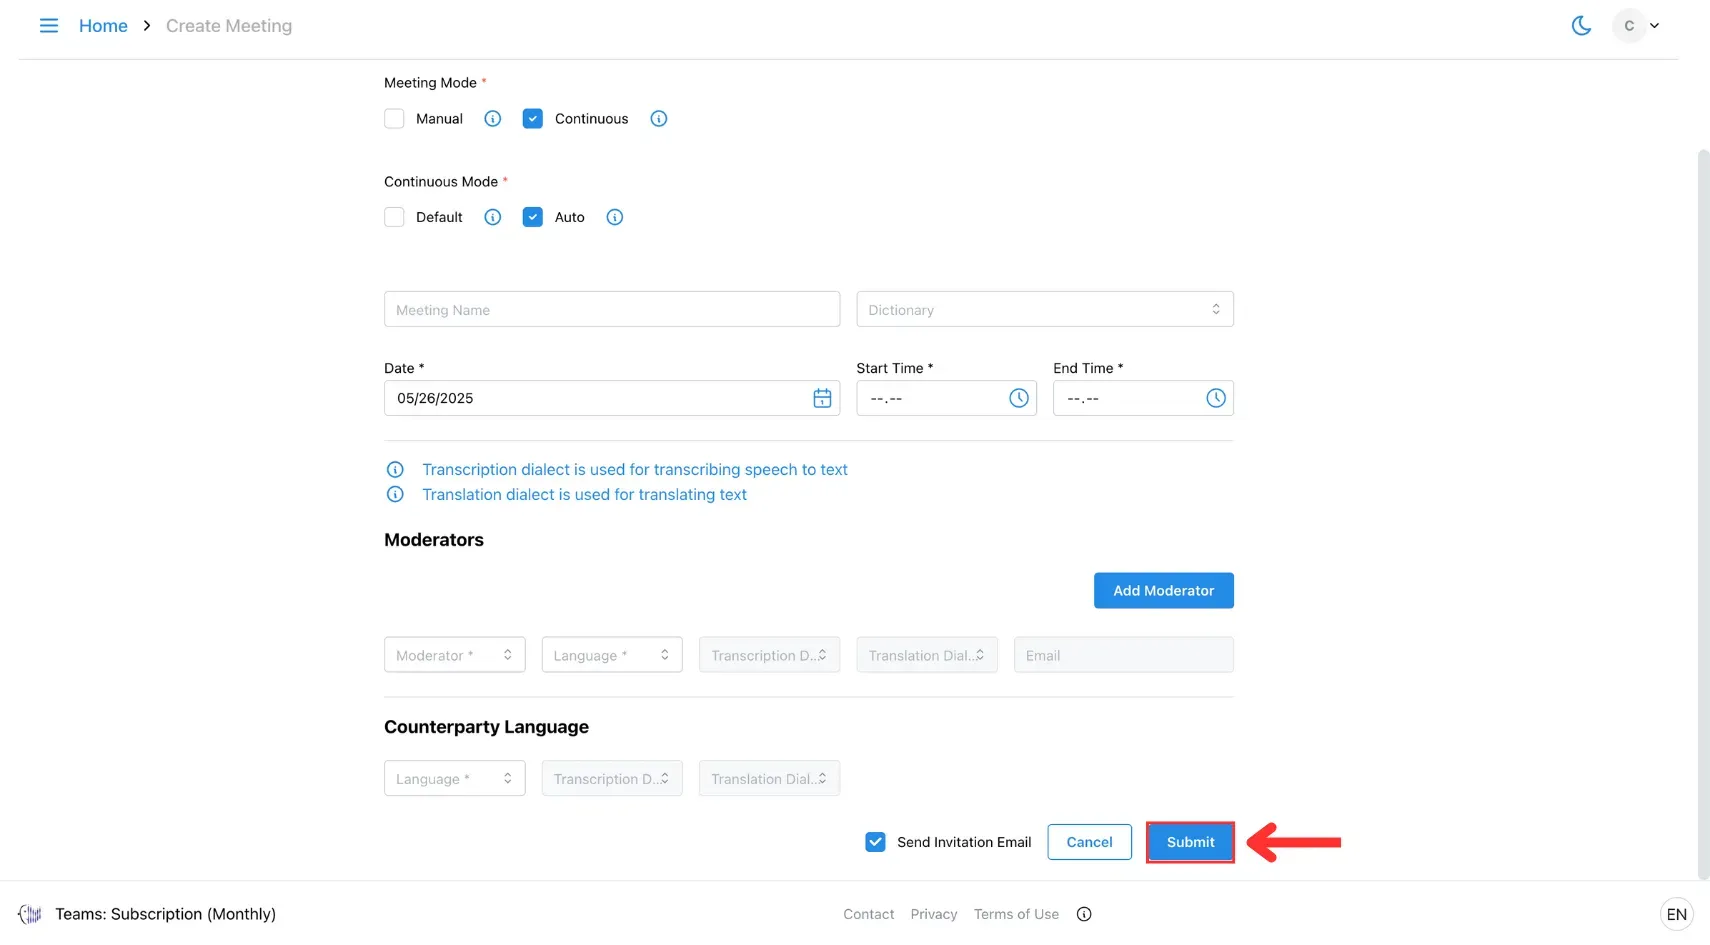
4. Submit
Click Submit to create the meeting.
5. Join Meeting
Initiate the meeting at the designated time by accessing the provided link and selecting Join Meeting.